Iron Age bronze working

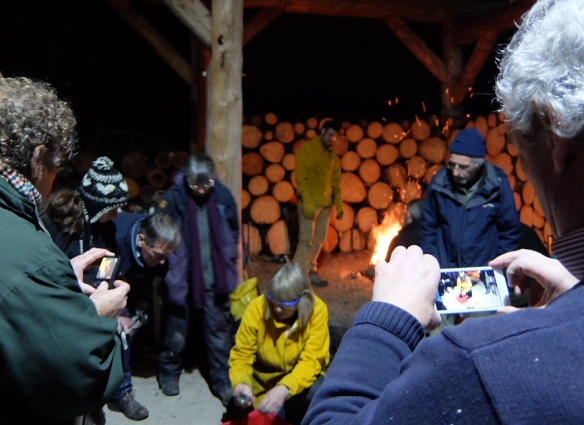
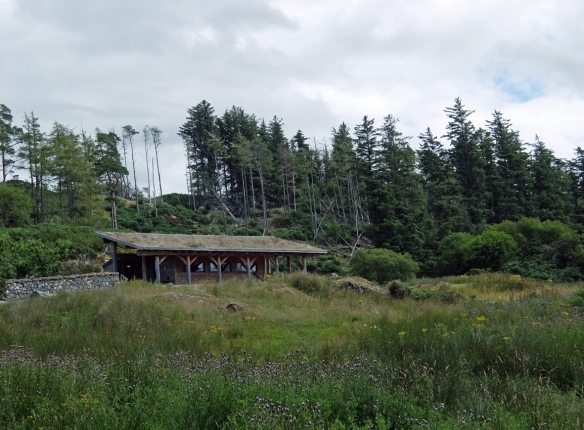
We had such fun at the final public event for the Clachtoll Broch project.

furnaceboyd

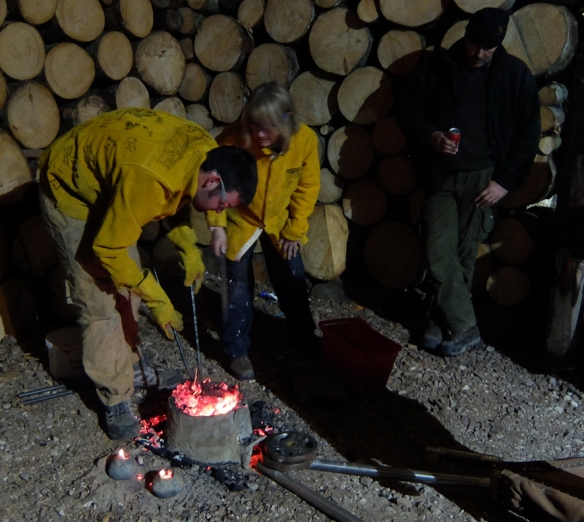
Uist Corrigan (who is now at Edinburgh College of Art) joined me and some local folk and volunteer archaeologists. (That’s Uist keeping an eye on the furnace)

recording

We had the bellows from SSW and built the furnace using local clay, sand and horse dung.

bellowsglencanisp

glencanispfurnaceaWe had some local charcoal courtesy of Chris (although most of it came from the Chinese wholesalers in Dundee). Heather Fulton took loads of photos, some of which I’m using here.

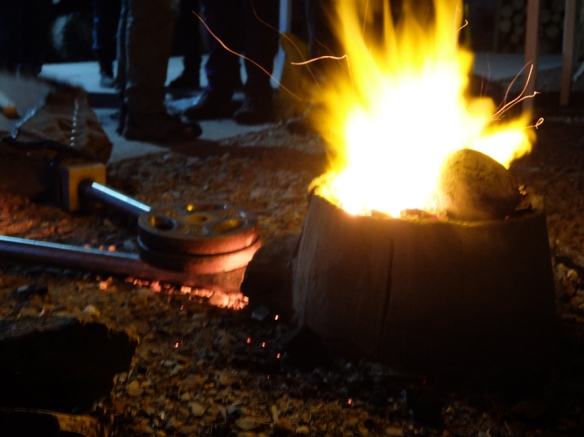
We started before dusk and did the final copper smelt of the project.

Katbellowsglencanisp

Just about everyone helped with the bellows, it’s not so easy, but it’s sociable, thanks all who joined in.

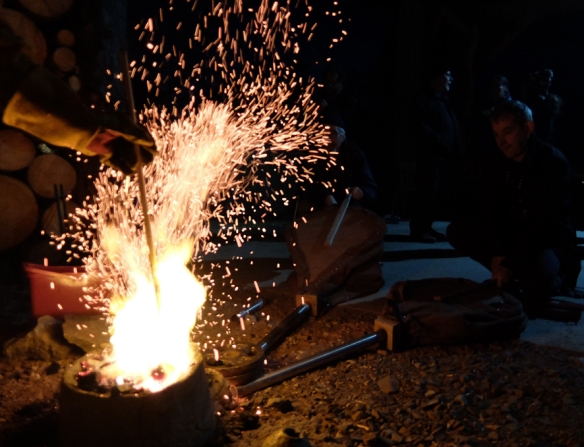
We cast the two community bronzes which were lost wax cast.

meltoutglencanisp

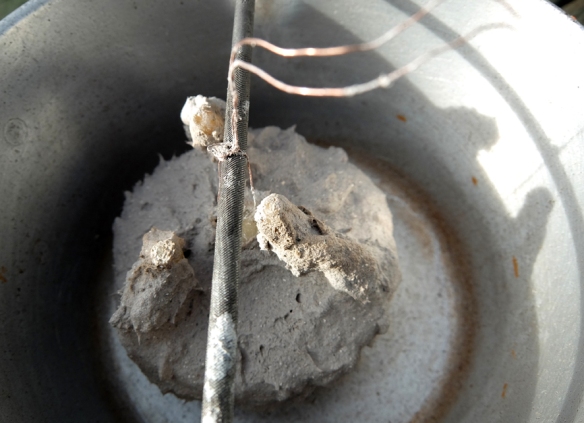
This is burning out the wax.

lostwaxpour

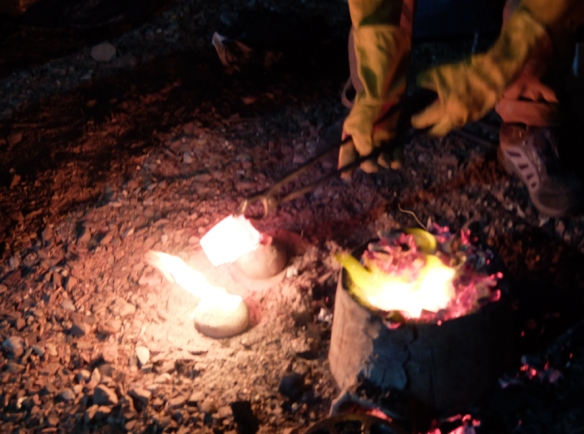
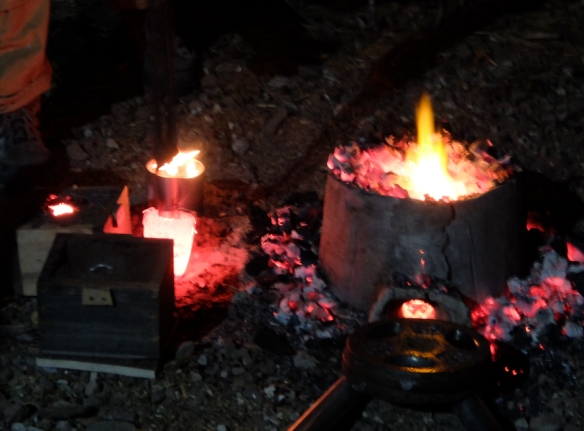
Pouring the bronze and, below checking out the crucible for the next pour.

lostwaxstu

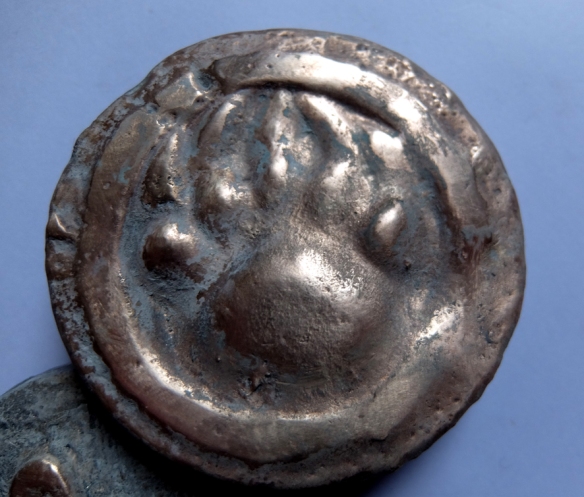
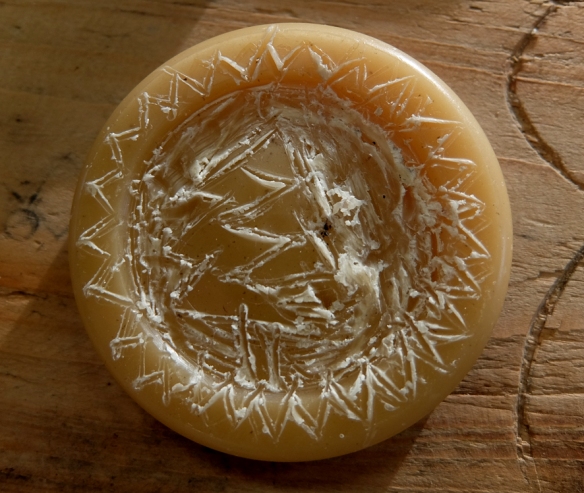
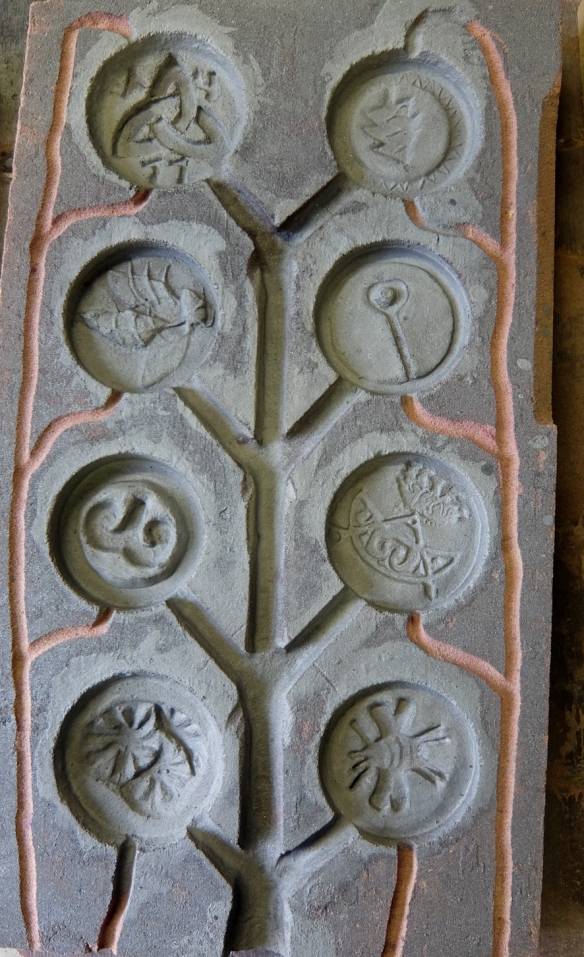
One of the bronzes was a bear foot print, designed by Bill.

bearBZBill

I had spent the previous week preparing the waxes, adding runners and risers and then  dipping them in a clay slurry mix to build up layers of mould which was then finished by enclosing in a cob clay with a pouring funnel.

waxdipclachtoll

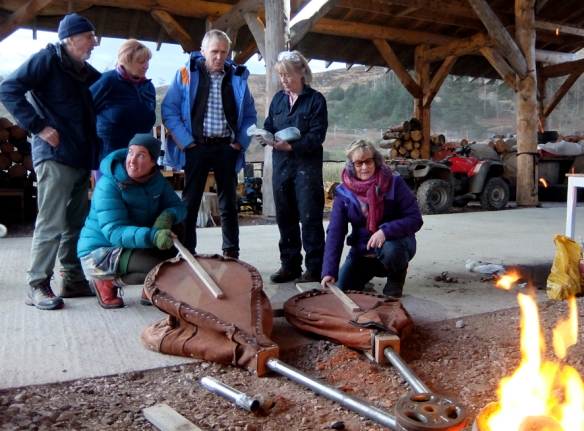
We kept the furnace going (and the bellow workers) to pour the last bronzes – One closed oil sand 2-part mould, an open sand box with local sand and clay mix; and a closed 2-part mould (although we ran out of bronze in the end)

furnacesandmould

Most people went up to hear Gordon’s talk, but I’d promised Mandy Haggith that we’d try a copper alloy. So we switched to the hand blower to melt the copper, including from the local smelting, and added some tin grain to get a very local bronze alloy.

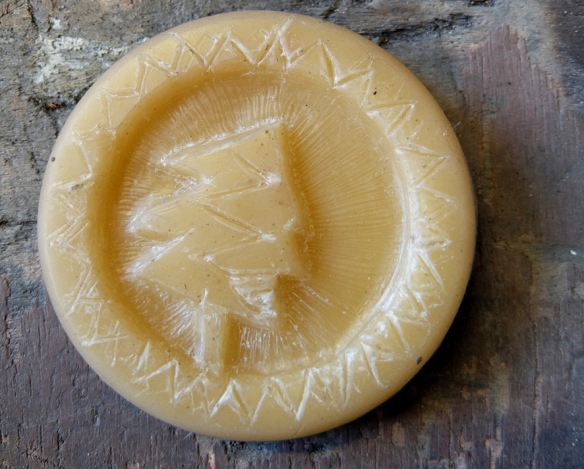
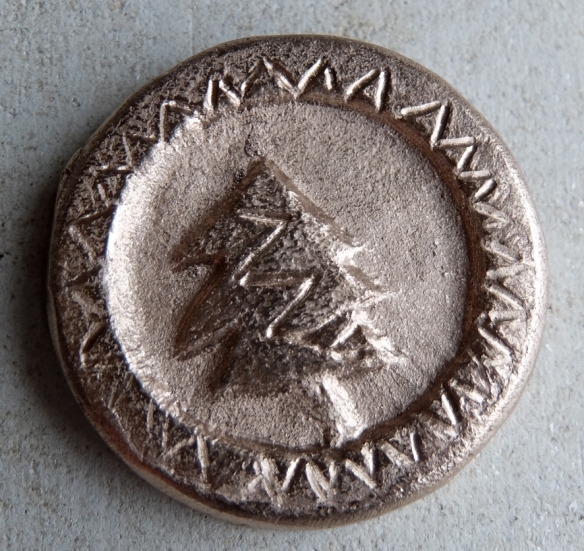
The open sand mould was Roz’s bird over waves design; and the closed one Stuart’s panda:-

The next morning I said goodbye to the Art Studio for 2018 and headed back to my studio to finish the final bronzes.

studio

My thanks to everyone for making the Clachtoll broch art project such good fun.

Clachtoll Art Project – Bronze community sculpture

The other piece that I’ve been working on is a community sculpture.

Eighteen children from Lochinver primary have prepared designs and tried their hand at wax carving using local beeswax.

waxtreeschooli

Most of the children also did sand piece-moulds to cast metals beads which we then made up into nettle-stringed necklaces. Thank-you to the people who supported me with this workshop.

waxtreeschool

I then cleaned up the waxes so that they would cast well; and using the same method as the children (2 part sand moulds), I cast the first sixteen mini sculptures in bronze. I have been cleaning these – cutting of the running system, filing them back, sanding and polishing them.

waxschoollk

The Ullapool High school children who came to the broch helped run a copper smelt. The copper from that smelt was added to the bronze used for these mini sculptures. The high school pupils also cast pewter pieces using clay models that they had designed themselves.

The community sculpture has been growing with local people making mini sculptures.

groupmouldii
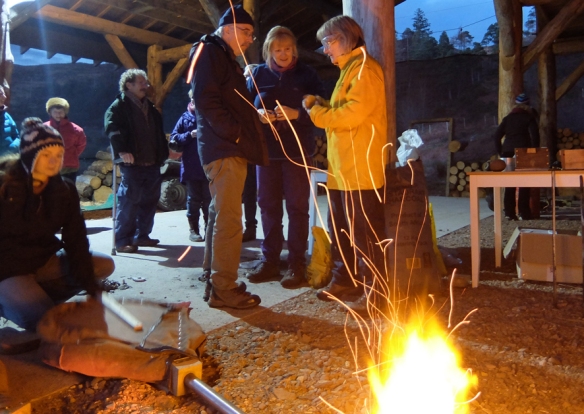
At a public event on Stoer field we smelted some more copper, which will be used in casting these waxes in bronze (thanks, Nigel, Fiona and Boyd)

Many of the dig volunteers and other people involved with the broch have added their designs, so I have a further 24 waxes cleaned and prepared for casting.

publicsmelt

The discussion on where they may be installed continues, but I hope they can be affixed to bedrock in a safe place near the broch.

The final public event at Glen Canisp on 16th November 2018 will be to cast the final waxes for the sculpture (including copper from the public smelt). We also have a special request to demonstrate the alloying of copper with tin to give bronze. I hope to have more details of the event planning soon.


Stone to Bowl grand finale

Last week was my final week of work at Scottish Sculpture Workshop on my VACMA funded Stone to Bowl copper project.

It focused on getting the bellows organised so that I can work anywhere in the landscape. Monday was spent fixing the blower which had arrived fractured. Eden Jolly did most of the work as it involved tig welding, but I did the cleaning of the joins and offered cups of tea. Eden and Fleur (an Erasmus student) made it a super wee base and I went to Portsoy to get it some flexible tubing. fanblowerSept18
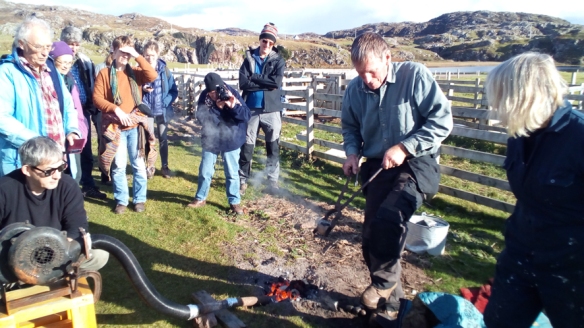
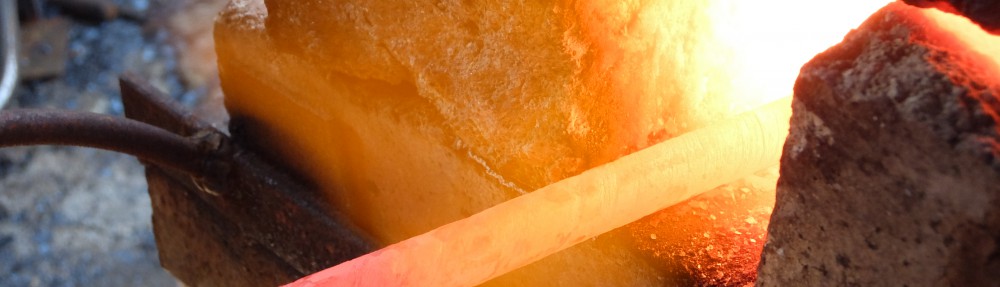
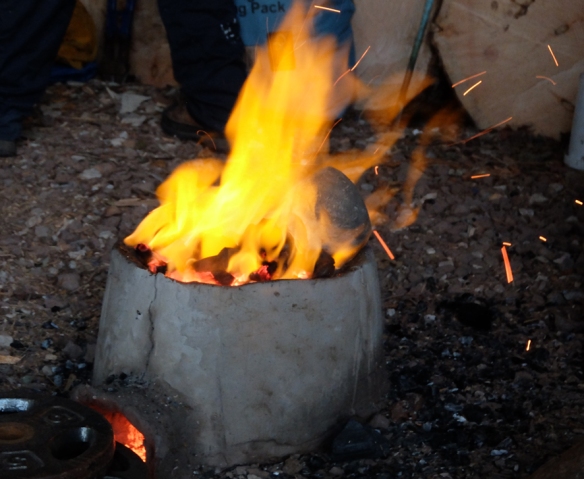
By Wednesday all was ready to return to copper smelting trials. The smelt balls tend to over heat in the shaft furnace as it’s hard to see what is going on.

smeltfurnaceSept18

So on Thursday I dug a pit furnace and trialed that smelting with great success.I got 35gm copper from 50gm ore in 30 minutes and using about 2kg of charcoal.

smeltballSept185i

On Friday it was time to trial the bowls mentioned in the project title. This was using ore I’d smelted alloyed with 10% silver. The photo shows the open mould after casting. The copper did not complete the pour. I need to redesign the bowls with a thicker base. Even after heating the moulds and with sling casting, the copper would not stay molten in such a thin walled vessel.

slingSept18i

Spending 4 weeks developing processes and tools has been brilliant and the work goes on.

Stone to Bowl. Copper smelting

Finally I am three weeks into my Stone to Bowl residency and I feel that I should share progress.

One element of Stone to Bowl is to develop a replicable way of smelting copper from malachite/copper ore in a traditional way that means that I can work in the landscape anywhere.

First task was to source some Scottish copper ore. The mine in Bridge of Allan is long closed, but I found some copper traces on the waste heap. These photos show the mine entrance and the pieces that I collected.

After initial smelting experiments I have been putting the ore in closed ceramic  balls with added charcoal to give a reducing atmosphere for the smelt. (While I was on my residency another artist was successfully smelting malachite using oxy-acetylene.)

The furnace is charcoal burning; and for these experiments I was using an electric air blower, although I will use bellows when I understand the process more. The dry ceramic balls are made of a local refractory clay mixed with fibre -horse dung, and sand. Inside is copper ore in pea size chunks  with 25% charcoal. The balls are placed on the furnace charcoal once it is burning well and the furnace is run until the ore is to a high enough temperature to smelt, hopefully. The balls are then plunged into water and broken open.

The first smelt was not a complete success. Some copper was formed, but a lot of this was pelletised rather than consolidated and some had to be panned from the ashes of the furnace.

cupan

However I reheated this copper to consolidate it and a reasonable amount of copper was retrieved. Again I used an electric furnace for this process while I am experimenting.

IMG_1370

I am not sure that a chimney furnace is needed, a horseshoe hearth might be as successful as one can see what is going on. The chimney furnace is made of a refractory clay mix similar to that used for the balls.

I tried another smelt later in the residency of which more anon.

100 days and Stone to Bowl

day15

This photo shows the difference between a two-part sand mould and an open pour. The level of detail on the two part mould is far greater than on the open pour.

I had read that this was the case, but I’d not experimented myself previously.

Both pieces are ‘my-smelt’ copper with silver alloy, cast in oil sand. The piece on the right is made in a two-part mould. The piece on the left I heat-patinated after I’d cleaned it up. Both are from the same former, which is an Edwardian mourning brooch. I will make the more detailed piece into a necklace; the open pour piece is too heavy to wear, but is very tactile.

Stone to Bowl

9mouldsjan

The second casting that I did with my first-smelt copper produced the ‘Manx cat’, a mouse, a pudding charm of the Christ child and two partial shells.

The mouse and the pudding charm were the more successful pieces. I have ordered a different kind of casting ring for the shells, to see if that is more successful. The shells are too fine for a conductive metal like copper, which tends to cool before completing the mould.

It is exciting using metal that you have ‘made’ yourself.


Stone to Bowl

Some of the copper that I smelted at the Sculpture workshop was not very pure. By hammering it I was able to get rid of much of the impurities ready to alloy with silver and melt for casting. I think that this was the first time that I used this blacksmiths hammer and my rather rusty anvil/

Stone to Bowl

1smelt

The New Year bonfire was the first trial smelt of the year. I didn’t expect much from it and it wasn’t a great success, because the bonfire dropped through into the rock pool beneath it. It seemed a good way to celebrate the New Year though.

The photo is the wet remains when the bonfire had burnt out, a gift to the sea.


Stone to Bowl

stonetobowlvi

Following further research I have made up some clay balls with a mixture of malachite and charcoal inside to smelt. Copper results from removing oxygen from the copper ore, so the sealed clay balls should be more successful that the pit smelt that I did at the Sculpture Workshop.

stonetobowliii

I like the way the clay balls look a bit like poppy seed heads.

stonetobowli

I’ll let them dry out a bit before I try and get them to smelting temperature in a charcoal furnace.

VACMA support acknowledgement-text + logost


Stone to Bowl

VACMA support acknowledgement-text + logost

I have been awarded funding for my Stone to Bowl project. It will pay for several weeks at the Scottish Sculpture Workshop in 2018 to complete the project which will take copper ore through to cast pieces, using traditional and fully sustainable methods.

I’ve been doing some preparatory work:-

stonetobowlvii

I experimented with melting the copper that I pit-smelted this year at the Sculpture Workshop, adding in some silver to lower the melting temperature. I melted 115gm and got 74gm of copper and some residual oxides which didn’t melt. The left hand metal is copper, the right is the original smelt material which is less pure. Next trial will be to sand cast with the copper/silver alloy.