Bone and nettle necklace

I went from sparkly little girl necklaces to a beach-combing, sustainable piece this week.

It uses nettle string through drilled bone, small turquoise beads and beach finds to make an environmentally friendly necklace.

The finds include a piece of a whistle, and a tube lid. It also has a piece of pau shell, a mother of pearl offcut and a disc from an old necklace. The copper clasp is bound to the nettle string using old electrical copper wire.

Happy Year of the Ox

I can’t believe it’s been so long since I posted. I got caught up in the pandemic in Japan early in 2020 and haven’t posted since. Here we go though:-

My granddaughters asked me to make them necklaces using bits from my workshop last week; and here are the finished pieces.

They both use pearls from Puri, glass waist beads from Togo and crystals from Prague; one has a pierced silver scrap piece that I got from a fellow art student and the other a pierced mother of pearl piece from a different friend.

They are simple and shiny because they are for small children. I’ll pop them in the post today and they’ll arrive for Chinese New Year.

Italian Block – 2019 catch up

italianii

This goes back to May 2019 at the Sculpture Workshops. I would normally blog when the piece is finished, but things are on hold at present.

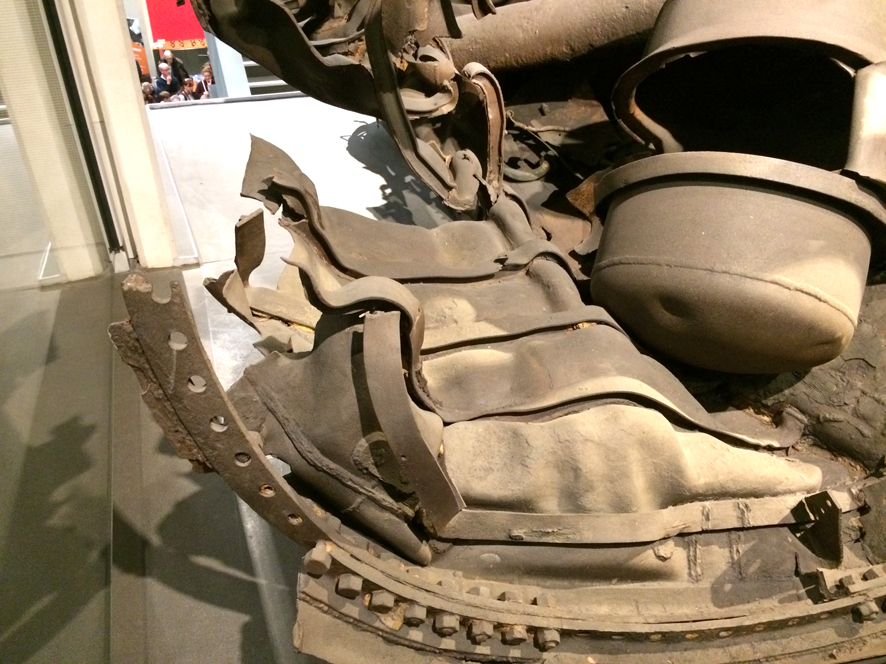
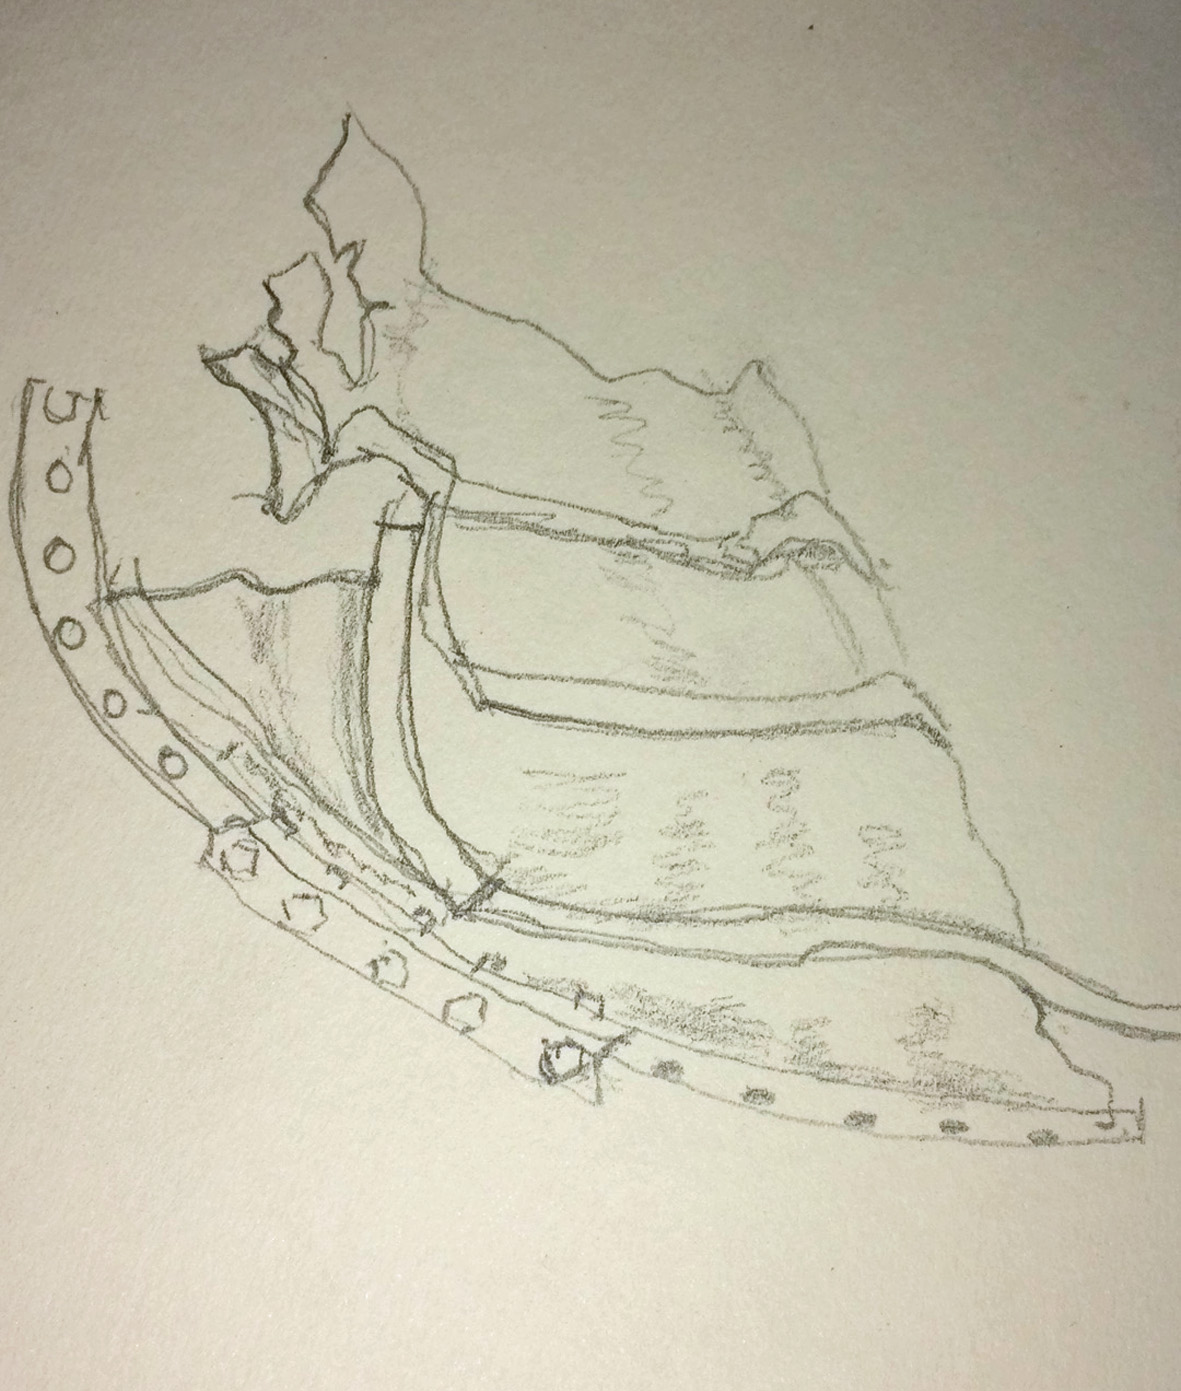
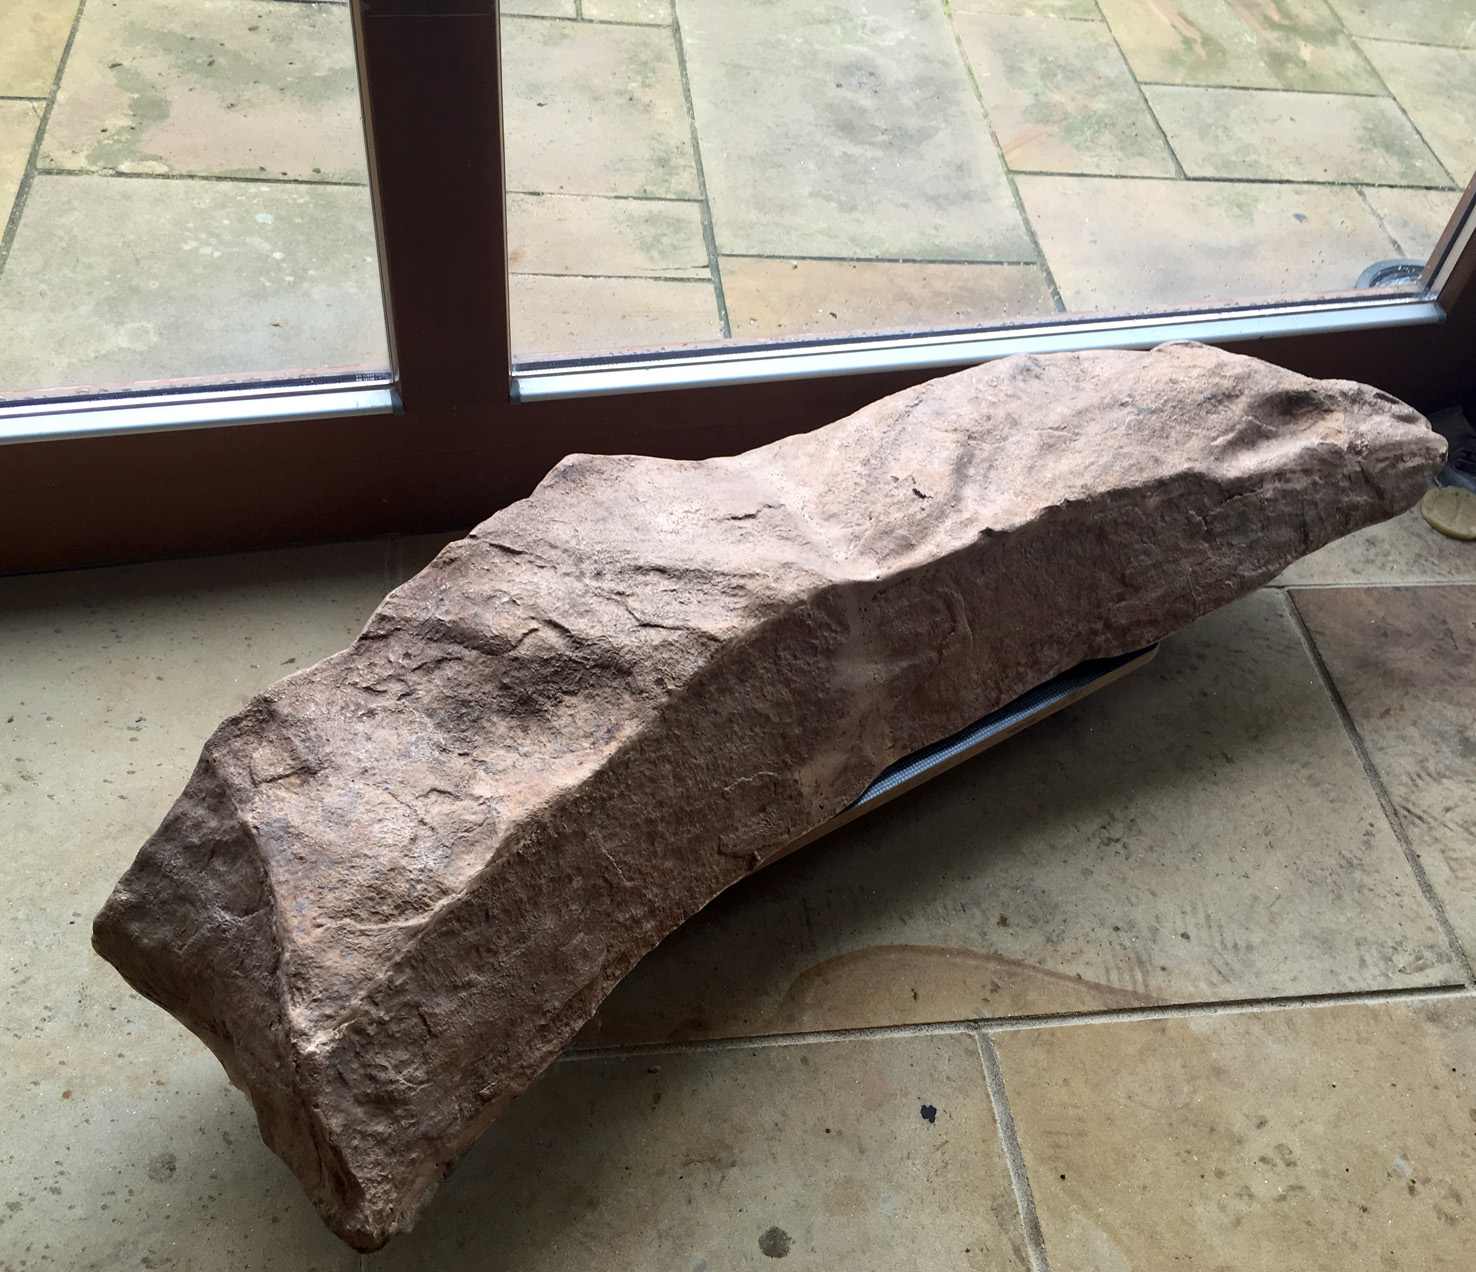
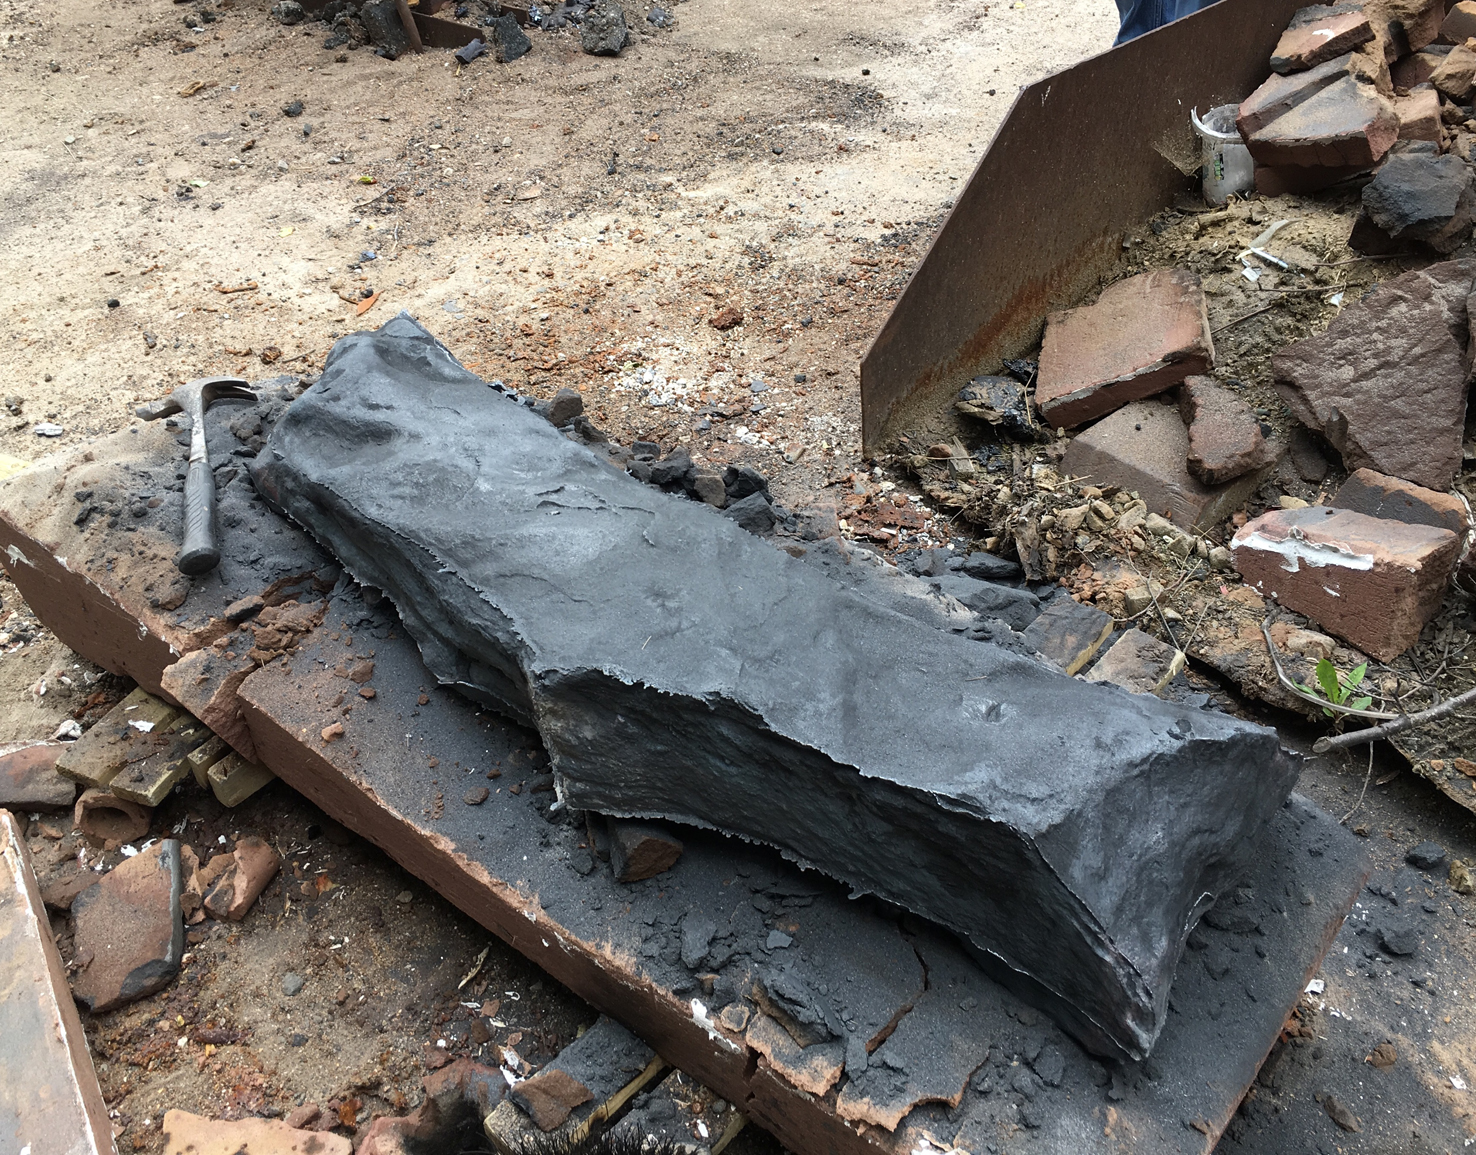
I discovered Italian block (thanks Eden) and made the beeswax model (above) for the main part of a commissioned piece remembering the heroes at Dunkirk and La Panne. The design is based on a torpedoed submarine in the Imperial War Museum in London.

subvii

dunkirksketch

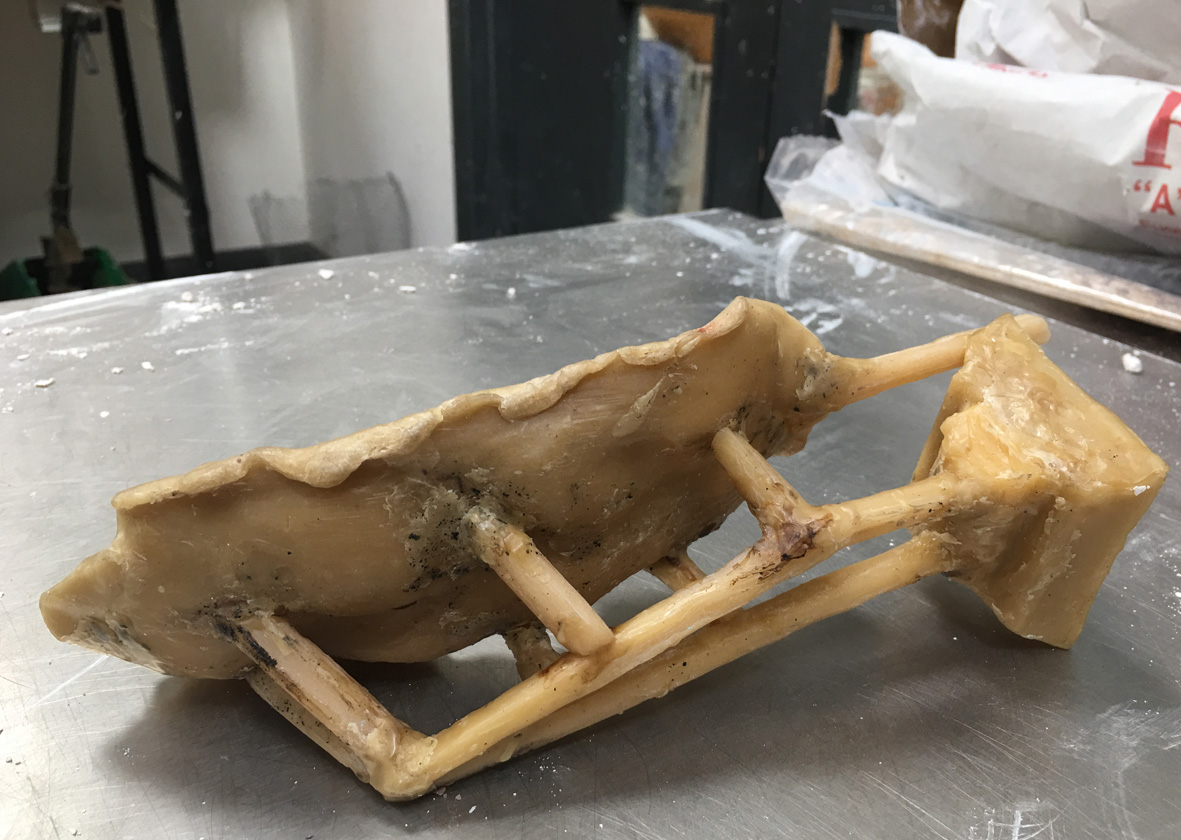
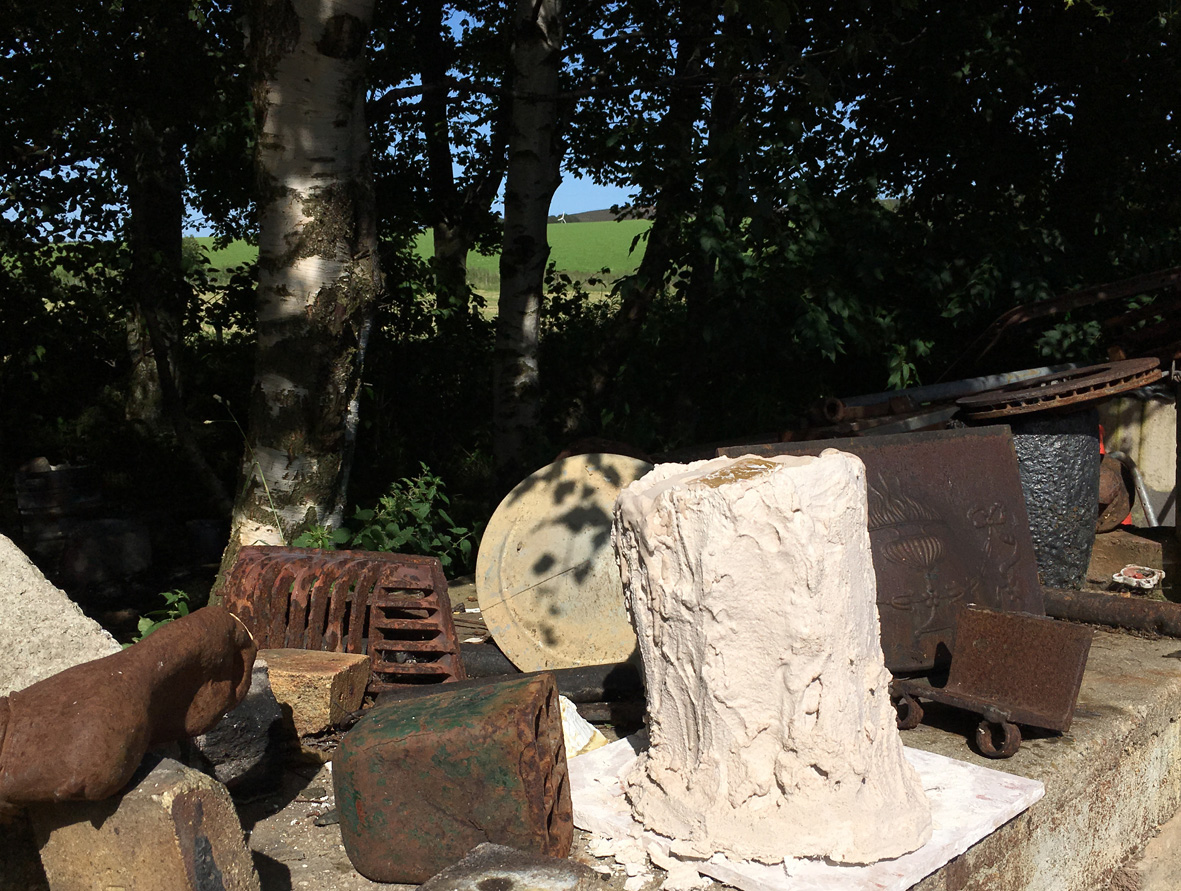
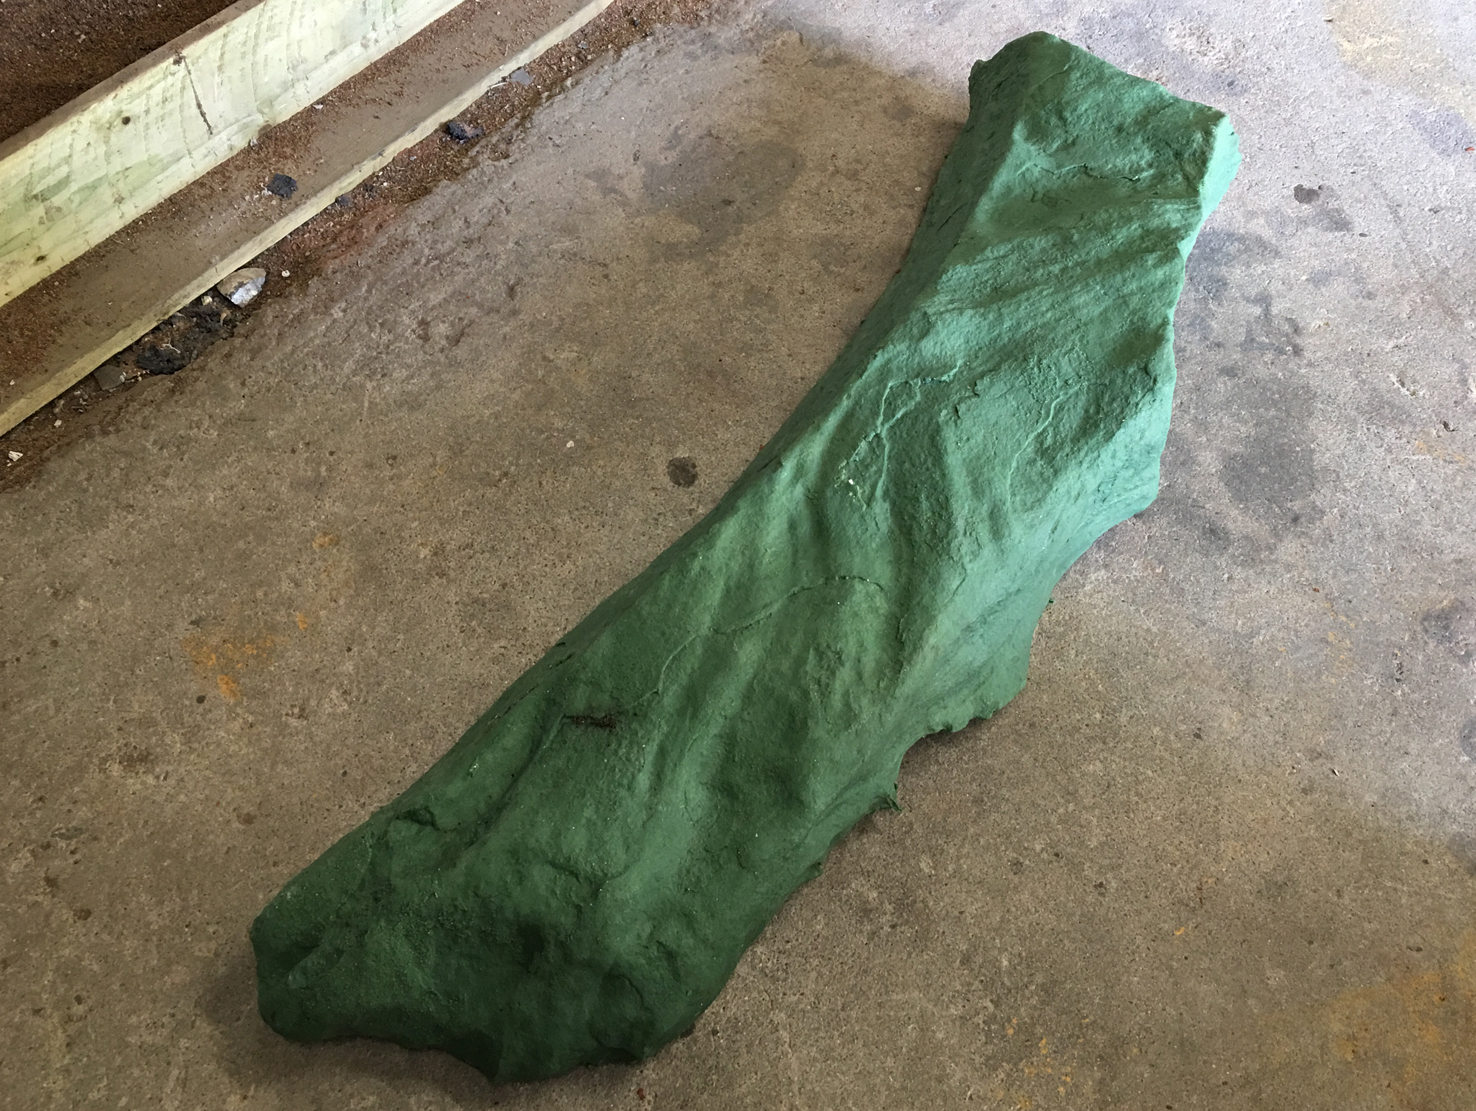
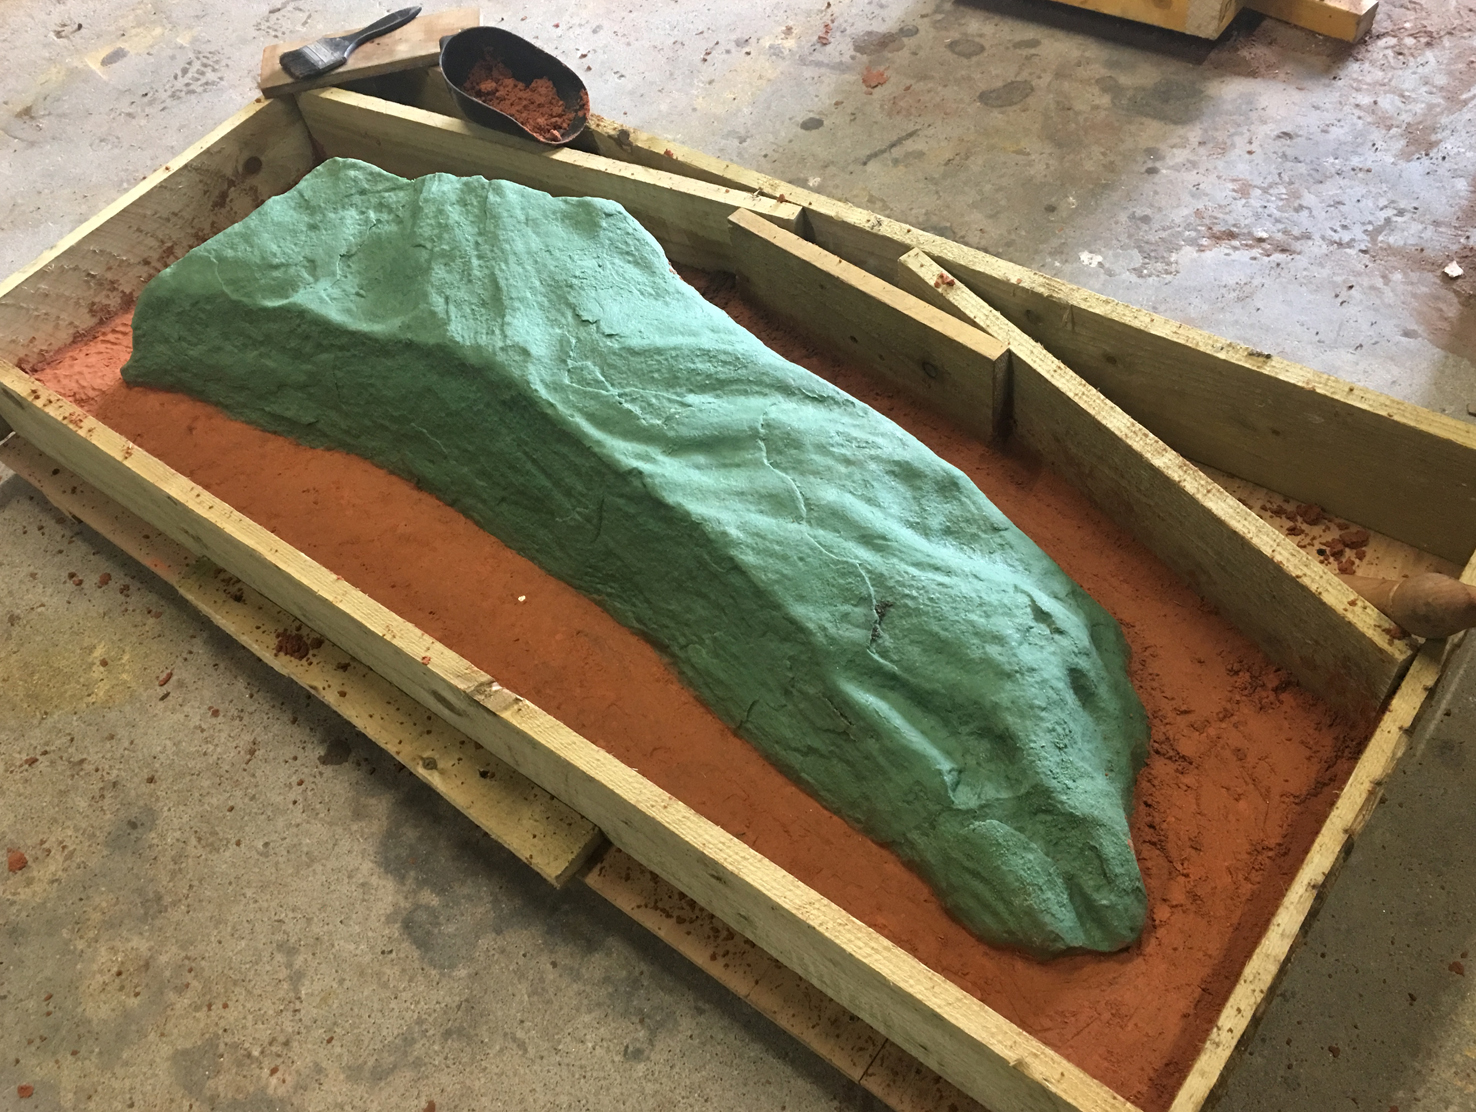
I made a clay model and then took a beeswax cast from the clay. The top photo is the wax cast which has been sprued (adding runners for the metal, risers for escaping air and a funnel for pouring in the metal)

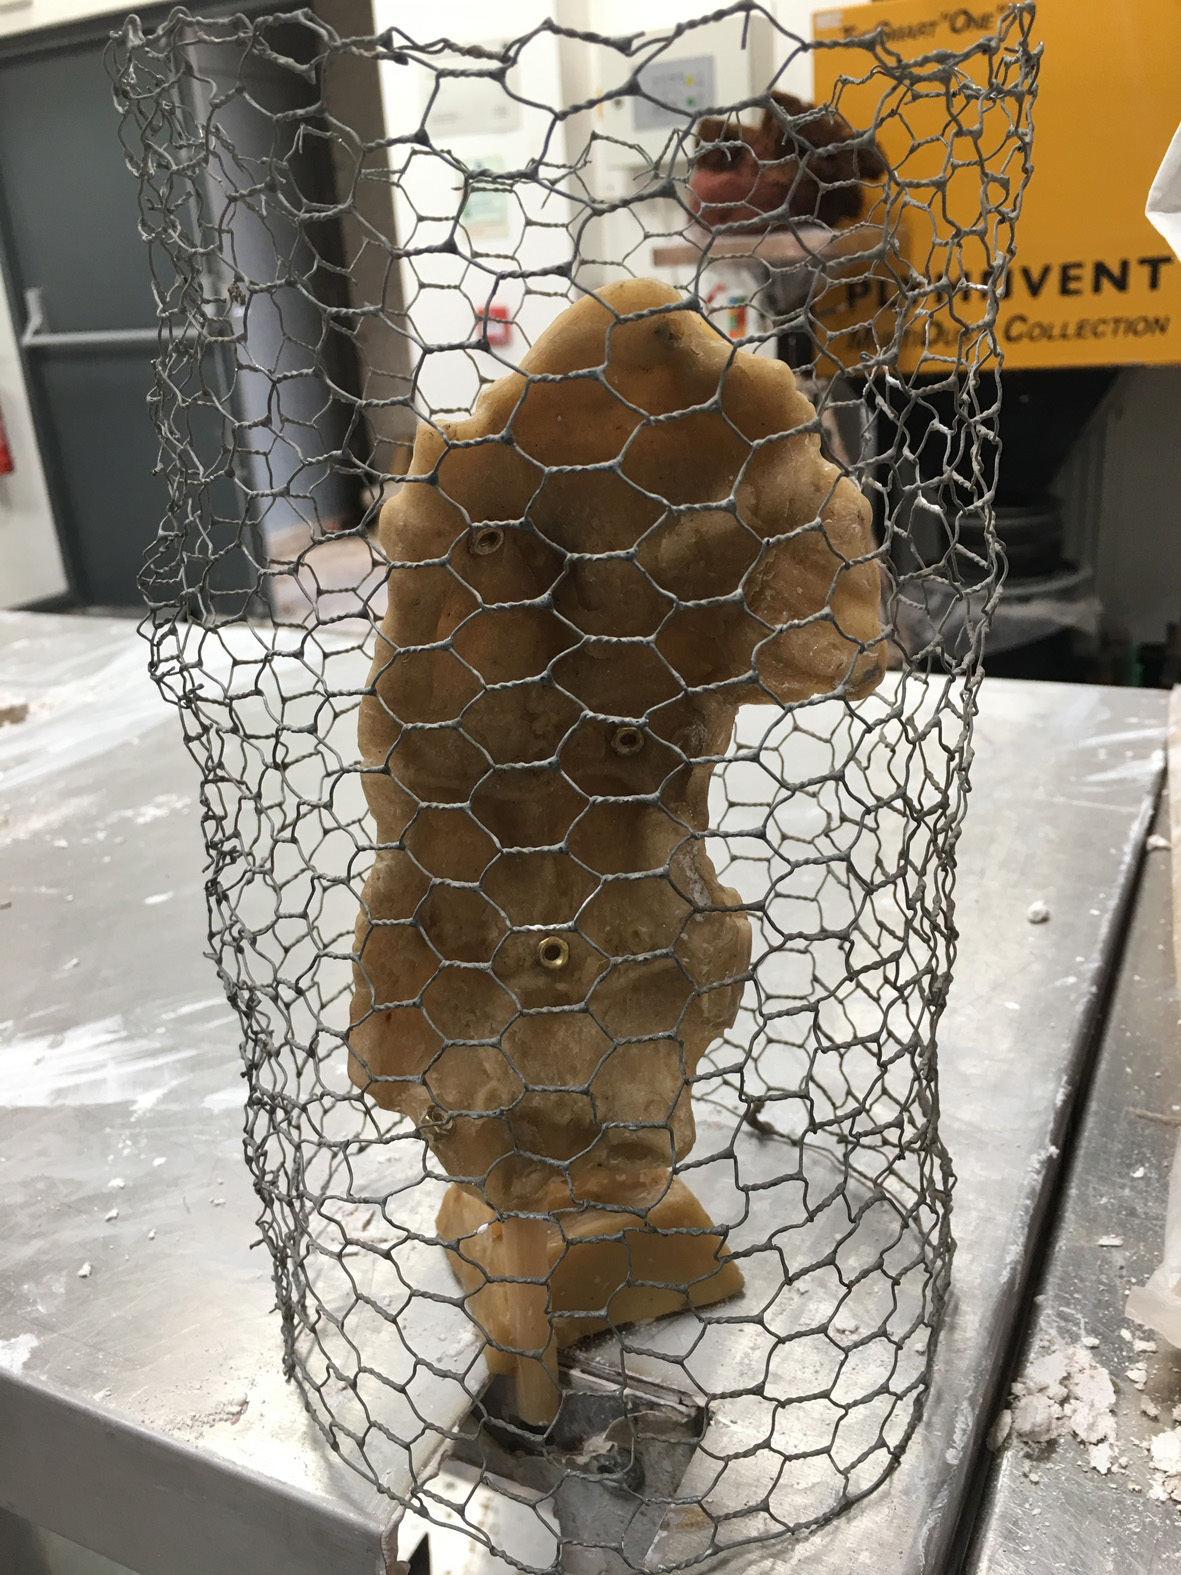
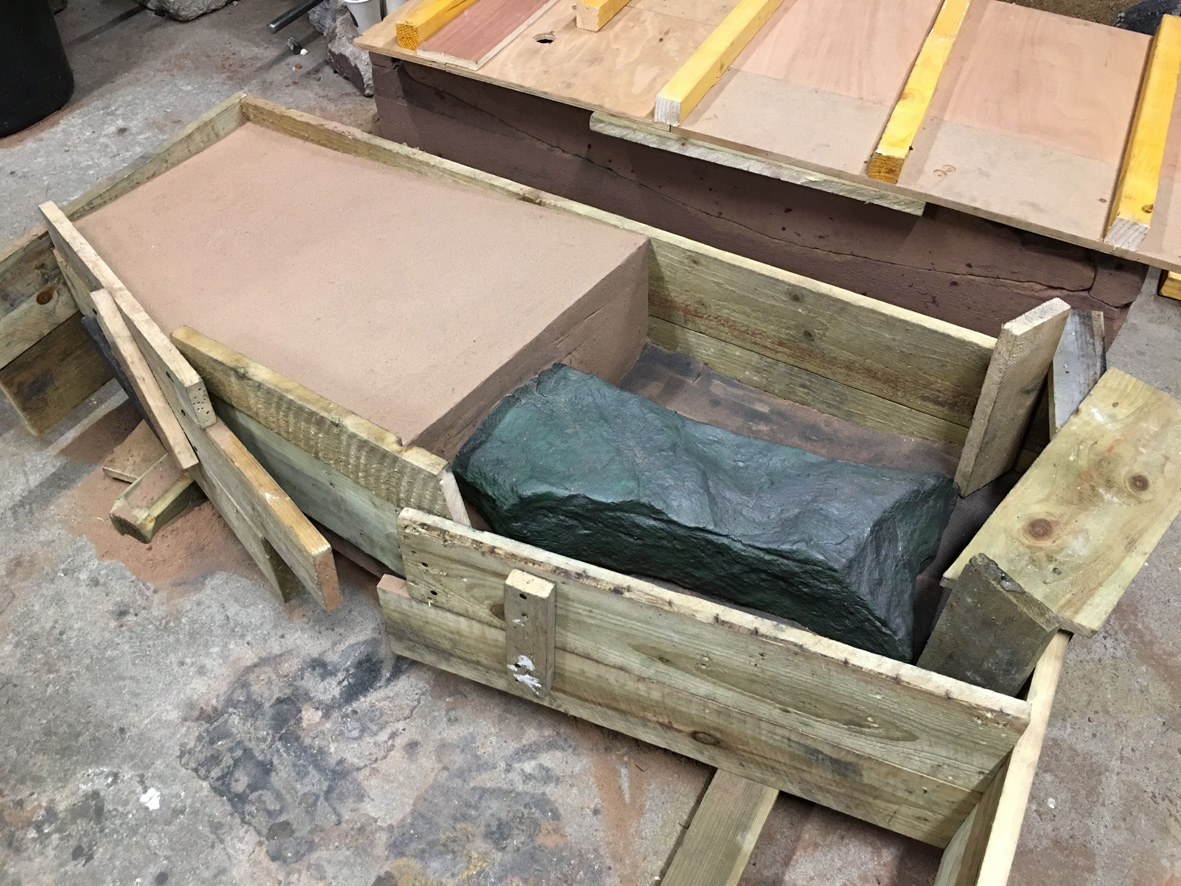
The italian block is made by making a flask of chicken wire around the wax, which is stood in pouring position in the flask.

italianiii

This is draped in hessian soaked in plaster to form a plaster flask surrounding the wax,

italiani

The flask is then filled with the plaster mixture to create a solid block around the wax and dried.

italian

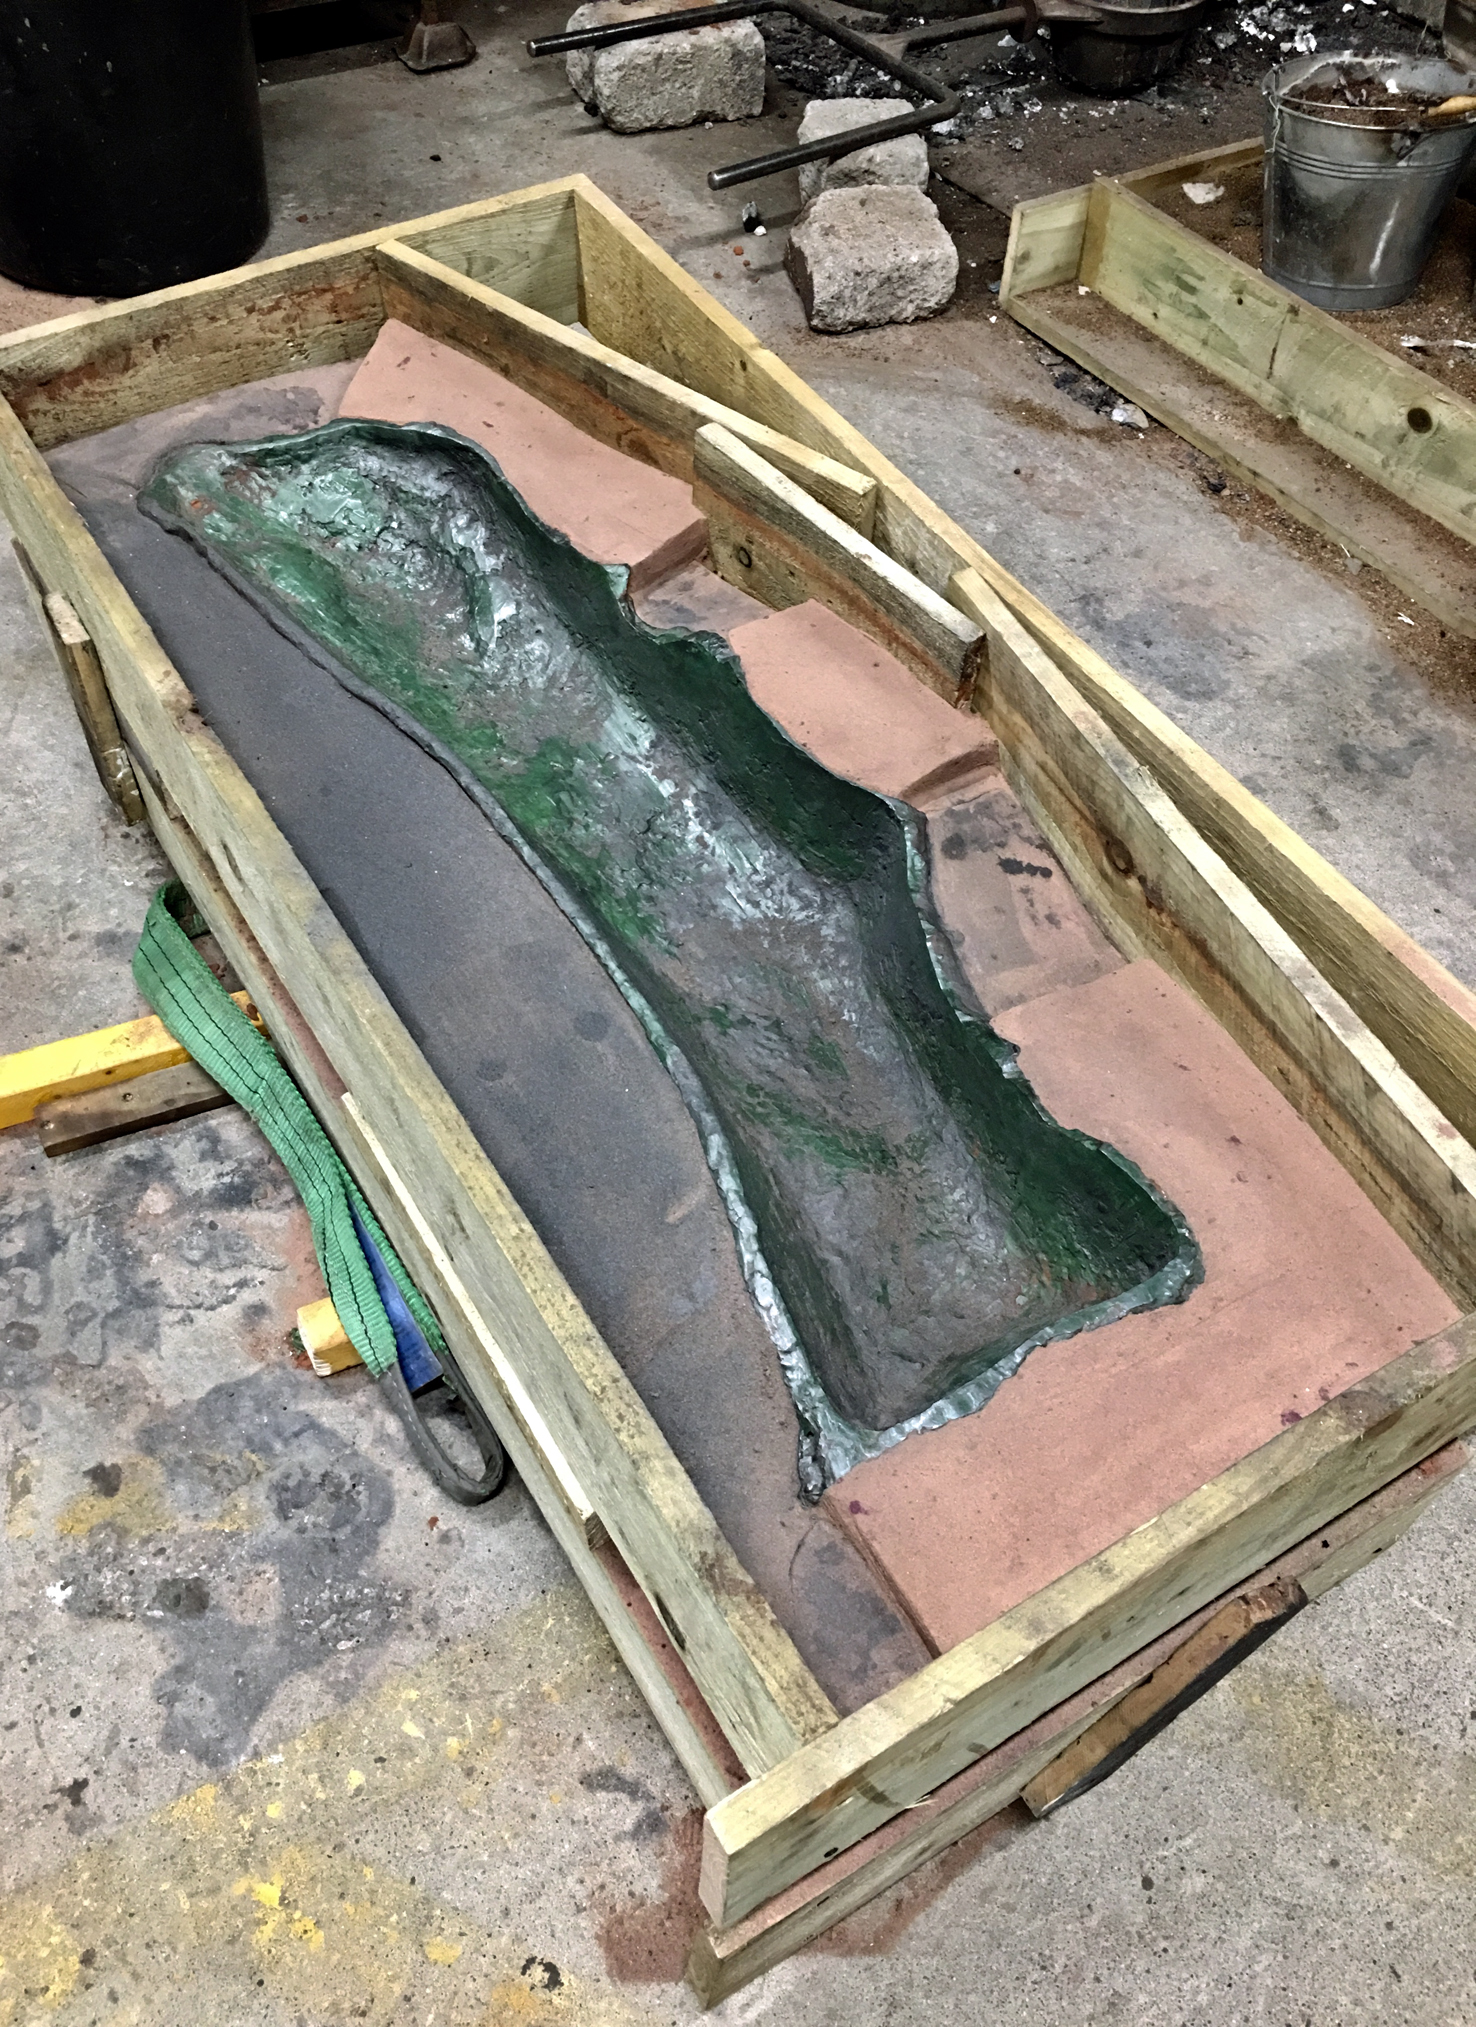
The block mould is then heated slowly in a kiln overnight to melt out the wax and fire the plaster mix.

italianv

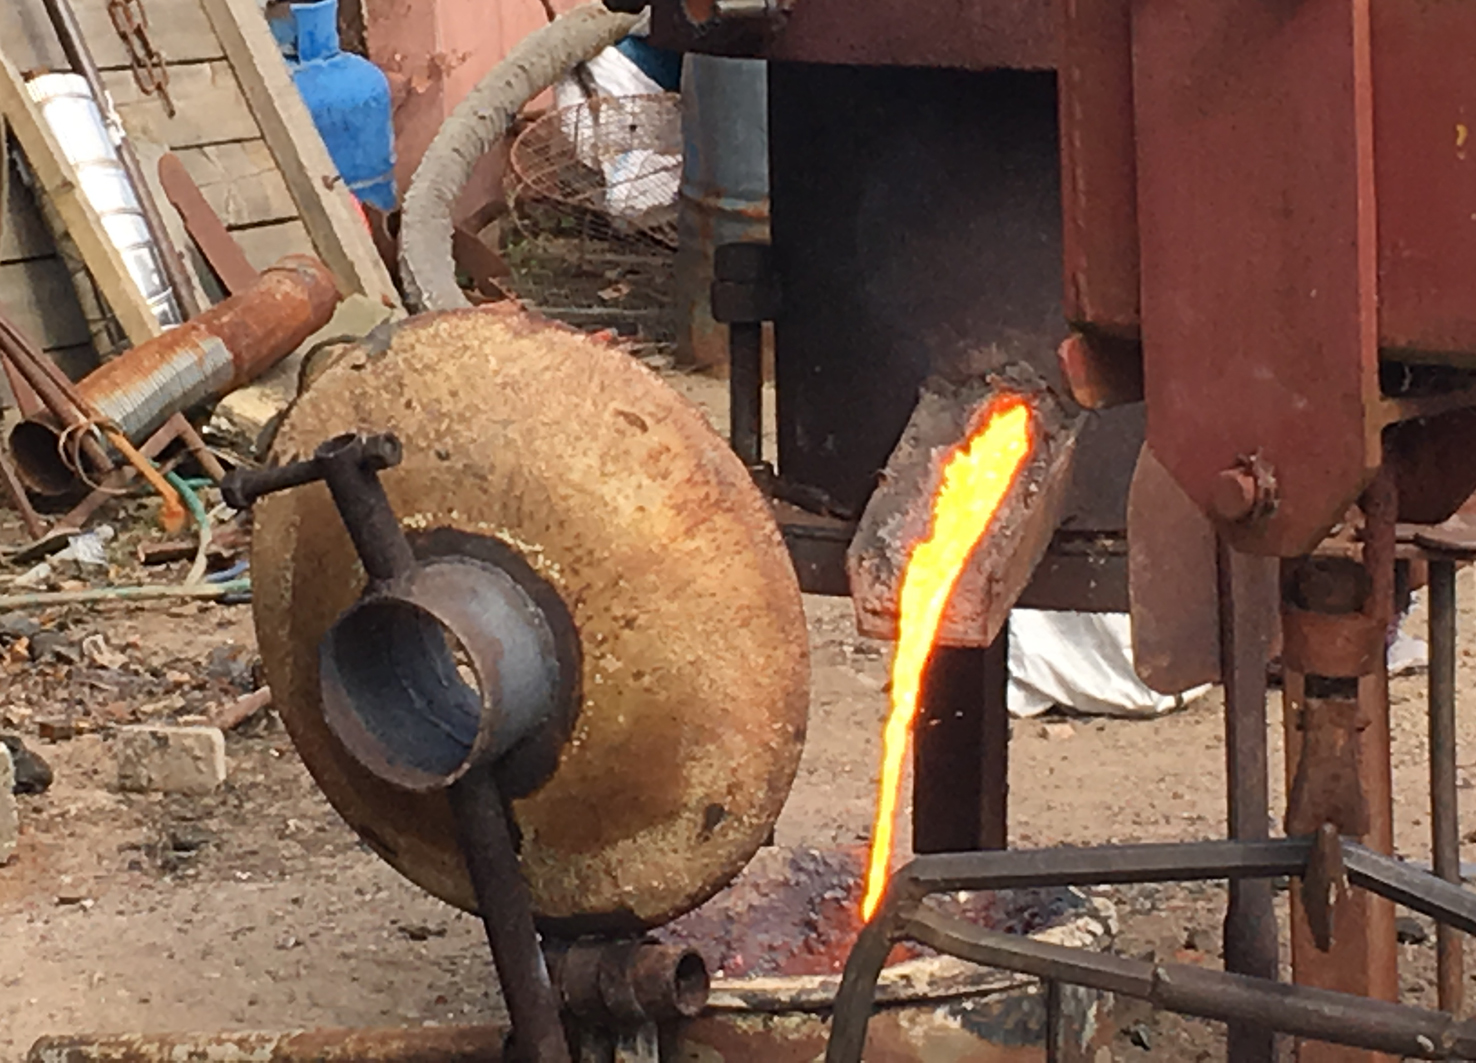
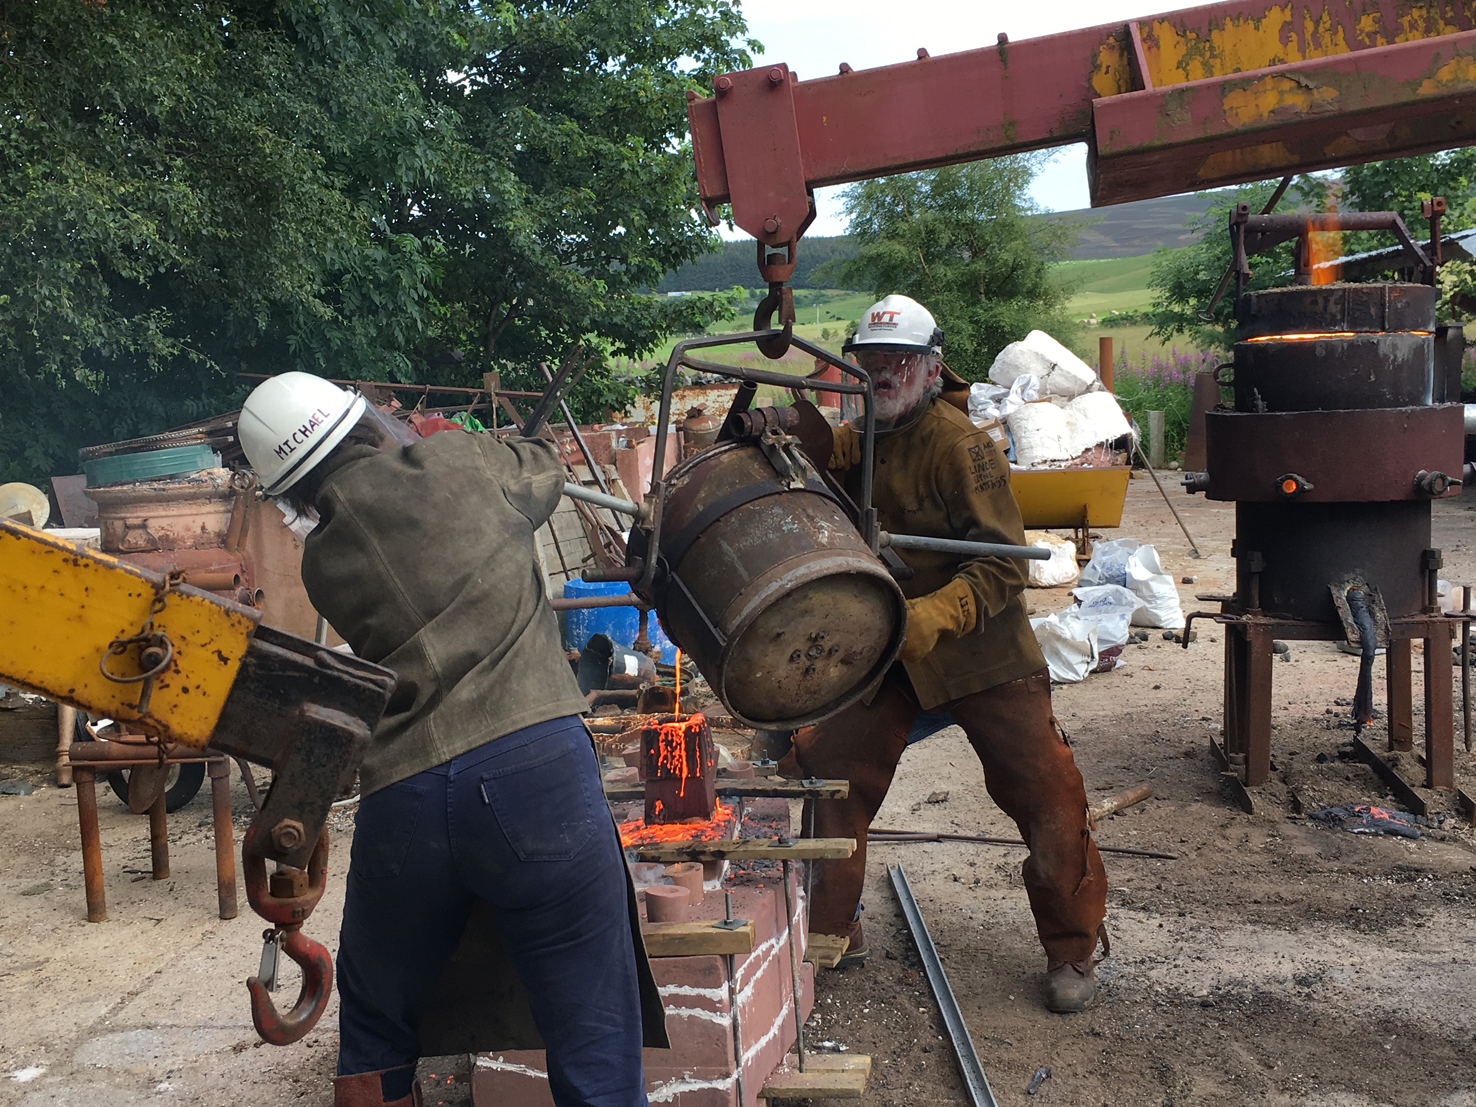
The mould is ready to be poured whilst still hot, so that it doesn’t fracture with the shock of the molten metal. This piece was poured at the end of May.

This traditional method can be used for bronze, silver and lower melt metals, but not for iron.

The Sculpture Workshop is reviewing its safety procedures and stopped all Italian block firing in summer 2019, pending the outcome of this review. Plans are in hand to remodel the metal workshops and I hope that when this happens I can explore Italian block further. I really like the method as offering great scope for design whilst being pretty sustainable and low tech.


Bronze lintel

bronzelintel

I was also making a bronze lintel. I had to take a silicon mould for the iron lintel so it was an opportunity to make one in bronze as well.

bzlintelmould
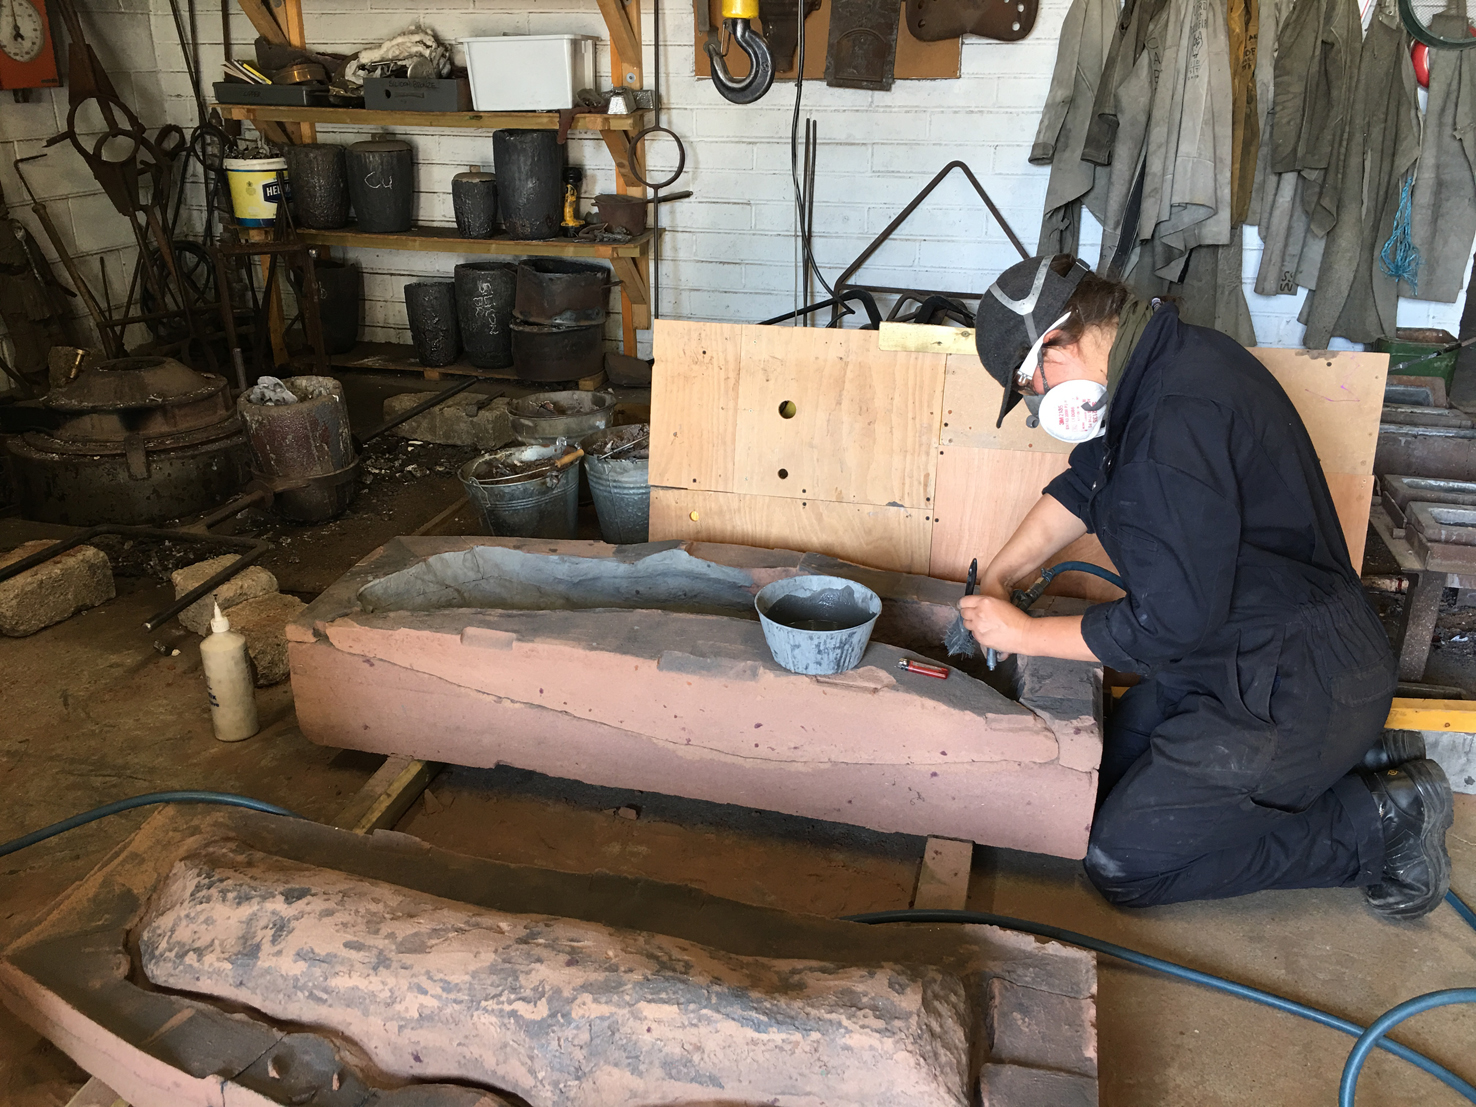
The process was much the same, but it needed to be made in two pieces because of the limit on the crucible size in the foundry. The mould was taken from the original wax and then a clever ruse with carpeting provided for the thickness of the metal. The photo shows taking the mould from the wax which has just been used for the iron lintel mould.

Eden (op cit) undertook the pour at SSW and welded the two parts together. I came in to fettle, chase and sand blast it. It is now at home in my studio awaiting final texturing and patina.

iron lintel – the story continues

I spent several days fettling and chasing the iron lintel and cutting off bits that weren’t required. Eden (Senior Tech SSW) assisted with this process – giving advice and moving the piece around for me. He also finalised an ingenious scheme for affixing the piece at its final location.

lintelfettle

The lintel just fitted into my van and with further ingenious thinking from Eden it was stowed in a manner that I would be able to get it out by myself (or at least with one other)

I took it over to Stoer and we unloaded it. Unfortunately the weather was changing so the noble lintel moving team called off moving it to the broch that day, but they got together later to carry it in. My heart-felt thanks to them.

lintelStoer

We now await a decision on the final location so the lintel can be installed at the broch site where it belongs,

Puppets in Prague

A slight diversion into different material – wood. Loyal followers will recall that I have made marionettes in the past at the Prague workshop of Mirek Tretnjar. This spring I went back to Prague to make a family puppet theatre and the puppets and scenery for a production of the Snow Queen.

puppetheatre1

Family theatres are a tradition in the Czechia (remember the Sound of Music and the Lonely Goatherd, yes I know not Czechia). Above is an example of a family theatre.

pipworkshop
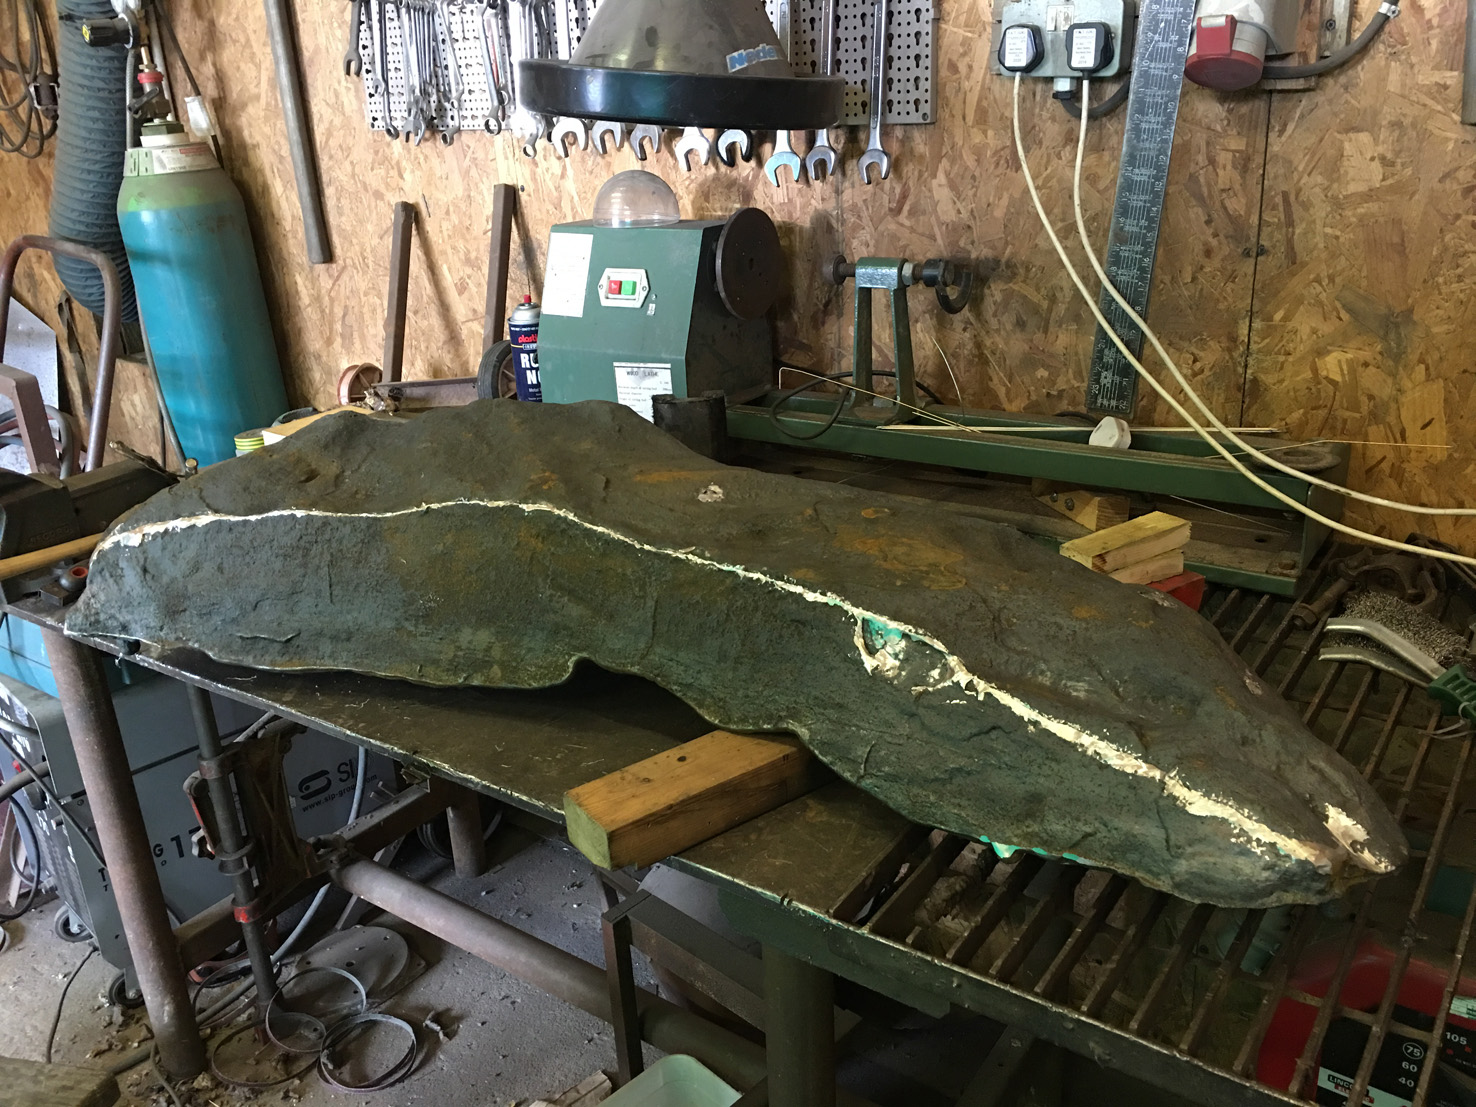
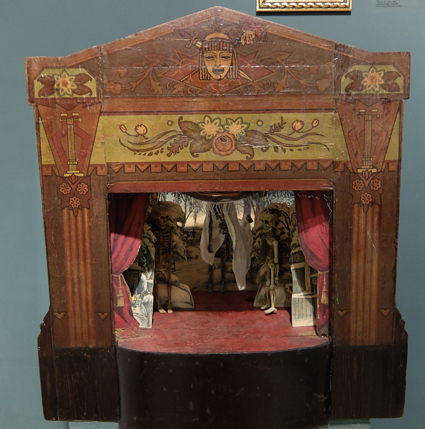
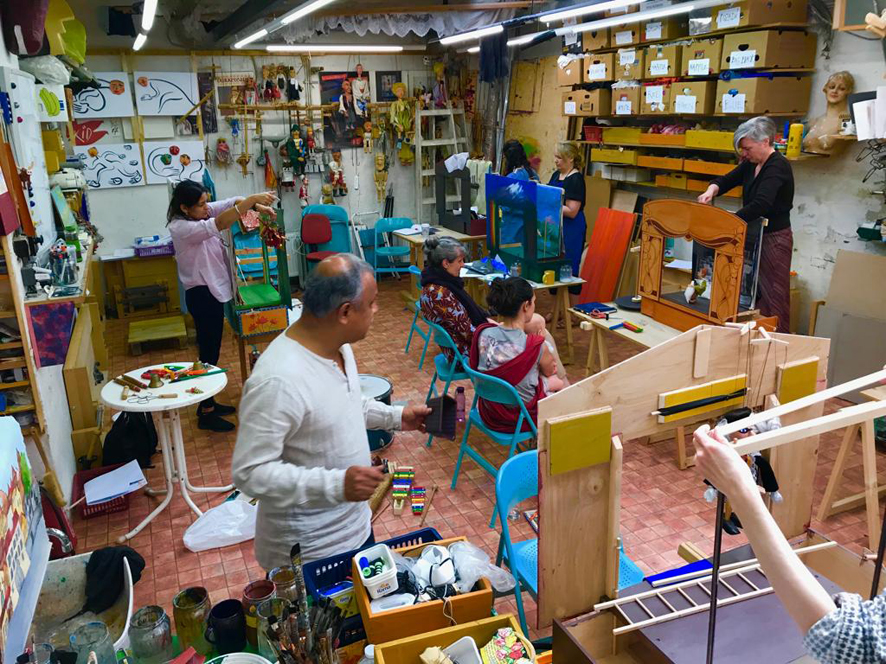
The workshop took us through the marionette carving, scenery painting, theatre painting, Marionette dressing and using the marionettes to tell our story. Above is a photo of the workshop with everyone working.

It was a fantastic group of talented people and I negotiated a jewellery commission which I’m so looking forward to making.

pipgangStarting with four blocks of wood, I carved the heads of my four puppets for a show based on the Snow Queen. Other blocks were carved for the hands, shoes and legs. Everything was then painted and clothes made. Mirek Trejtnar, the workshop leader, assembled the puppets and they were ready for the theatre. Lots of people helped and advised, including Marcella, Vaclav and Sota.

For some reason I can’t upload any puppet photos, above is a photo of some of the puppet artists at leisure.

It took a week to get the puppets almost complete. We then moved on to making the theatre. Dora and Svetlana helped plan and develop the performance. I was really pleased with the final family-story telling performance that we devised. I’m looking forward to sharing it with my grandchildren for their fourth birthday. Hopefully they will enjoy doing their own performances soon.

iron lintel casting

lintelfurnace

The day dawned bright and by lunchtime the mould was finally finished; Eden had mended the furnace and the ‘bull ladle’ was also fixed; the fork lift was in place to take the weight of the ladle; Michael had cracked the scrap iron (thanks Michael) and weighed the bags of coke and iron. Eden must have laid the bed of coke in the furnace when I was working on the mould indoors; the air blowers and gas tanks were in place. It was decided by the tech team to go ahead with the pour.

The furnace was lit and the air blower turned on to force the temperature up to melting point; the gas blower was turned on to the ‘bull ladle’ to heat it up ready to receive the molten iron when the furnace was tapped.

The photo above shows Michael adding a charge of coke and scrap iron to the top of the furnace. As the iron scrap heats it becomes molten and drops to the bottom of the furnace. When enough iron for the pour (over 65kg) is molten at the bottom of the furnace the bung is broken so the iron can run into the ‘ladle/crucible’.

lintelbullladle

The weight of the iron is taken by the fork lift and Michael and George manoeuvred the bull ladle into position and tipped it to pour the molten iron into the mould. There was a delay when the fork lift wouldn’t start and an alternative lifting device was tried before reverting to the fork lift.

lintelpour


Towards the end of the pour the bull ladle got caught in some way and the pour was aborted. The mould was showing metal through the air vents, so the general view was that the pour could be complete. The team have reviewed the equipment and made safety alterations since.

The metal needed to cool before I could peek inside, so I left it for the weekend. On Monday I removed the mould pieces to reveal an iron lintel, yeah


lintelcast
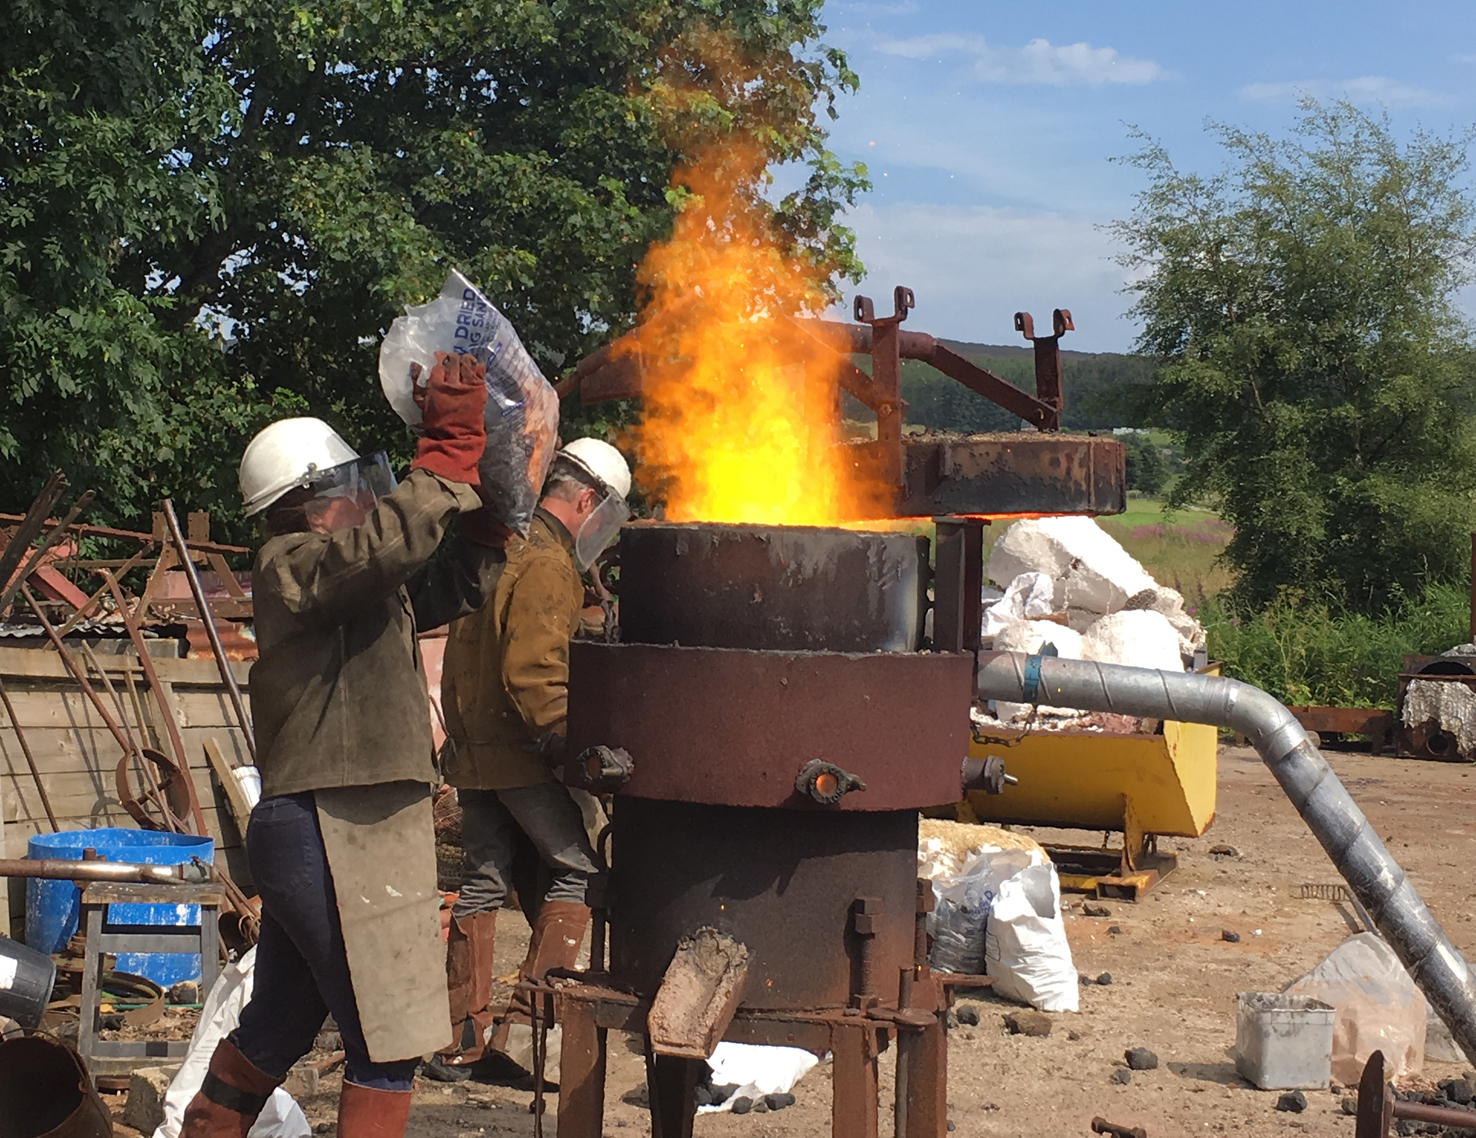
Thanks to Scottish Sculpture Workshop tech team and George Beasley.

Iron lintel – mould making continues

lintelmouldwax

The silicon mould and plaster mother mould that I took on the headland at Clachtoll made it safely to the Scottish Sculpture Workshop for the next stages.

Firstly I re-constructed the plaster mould so that I had one complete cradle for the silicon. Then I pinned the silicon into the plaster support mould and coated the inside of the mould with wax. I stippled the first layer on to capture the detail and and subsequent layers were brushed on to build up a firm mould a centimetre or so thick (thicker at the top edge) I then built the wax up as far as possible to remove undercuts on the inside.

lintelmouldi

I removed the wax wax from the silicon ready to start taking the resin-bonded sand mould.

I built a temporary box and used petrobond sand to build up the base to the wax. I did not do a good job on this, so had to make extra mould pieces at the penultimate stage (note to self to do better next time).

The resin-bonded sanded is mixed and rammed into the box around the wax, taking care to avoid undercutting.

lintelmouldii

lintelmouldiv

When the top part of the bonded sand mould was complete the whole box was turned and the ‘rescue pieces’ added. The base of the mould could then be made.

lintelmouldv

This makes a particularly uninspiring photo (above), but it over took a week to get there.

lintelwash

The mould came apart as planned and was built up into the base and the top parts. I cleaned the joins: Michael (SSW’s assistant technician) helped with the core wash; I found the bars to hold it closed and Eden (SSW technician) working with George Beasley drilled the pour holes and air vents; the piece was moved outside; the cracks were glued; the pour cups glued on; the clamp bars put on and it was ready to pour.

Unfortunately I only have video footage of this stage so I can’t show it. The next post will show the pour.

Wade Gallery and Fisher Gallery Summer Exhibitions

wade-e1565358236717.jpg

However, if you want to see my work there are several pieces at the Wade Gallery in Elie, as shown above. The Wade Gallery opens at weekends until August 18th.

Jan and Richard at the Fisher Gallery have re-opened for the Pittenweem Arts Festival and have several pieces of mine in a silver copper alloy and in iron.

So although I’m not at showing at Pittenweem Arts Festival this year there is an opportunity to see and buy my work in the East Neuk over the festival period.

Keny, Fraser and Nicola are also at other venues this year.

East Neuk Open Studios 2019

2019’s open studios has been and gone. The weather was lovely and lots of people visited; and several people bought pieces or commissioned new work.

flower

Commissions included a charm bracelet as a gift for a niece in Canada, which included a dolphin from the Firth of Forth; and a neck piece using an piece of carved peat that was a brooch from my childhood. I’ll show progress on this piece in a later post.

bronzeseabowl
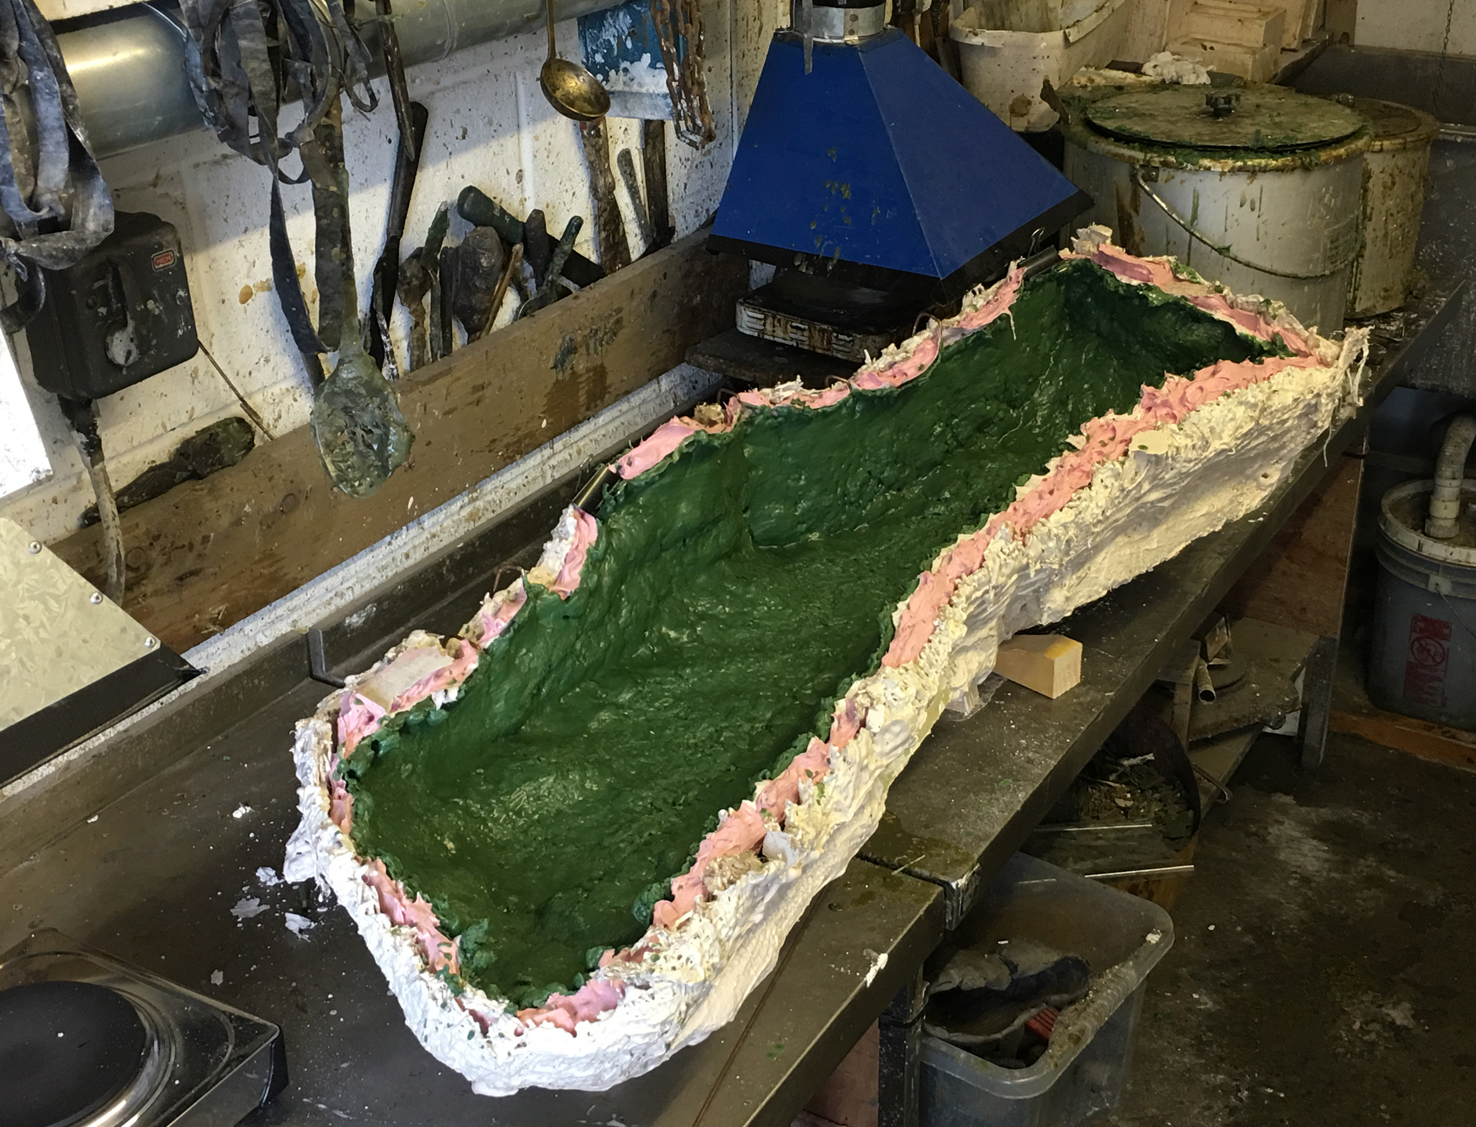
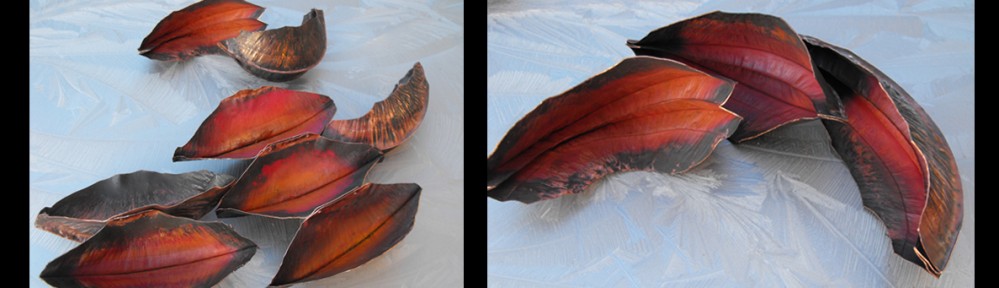
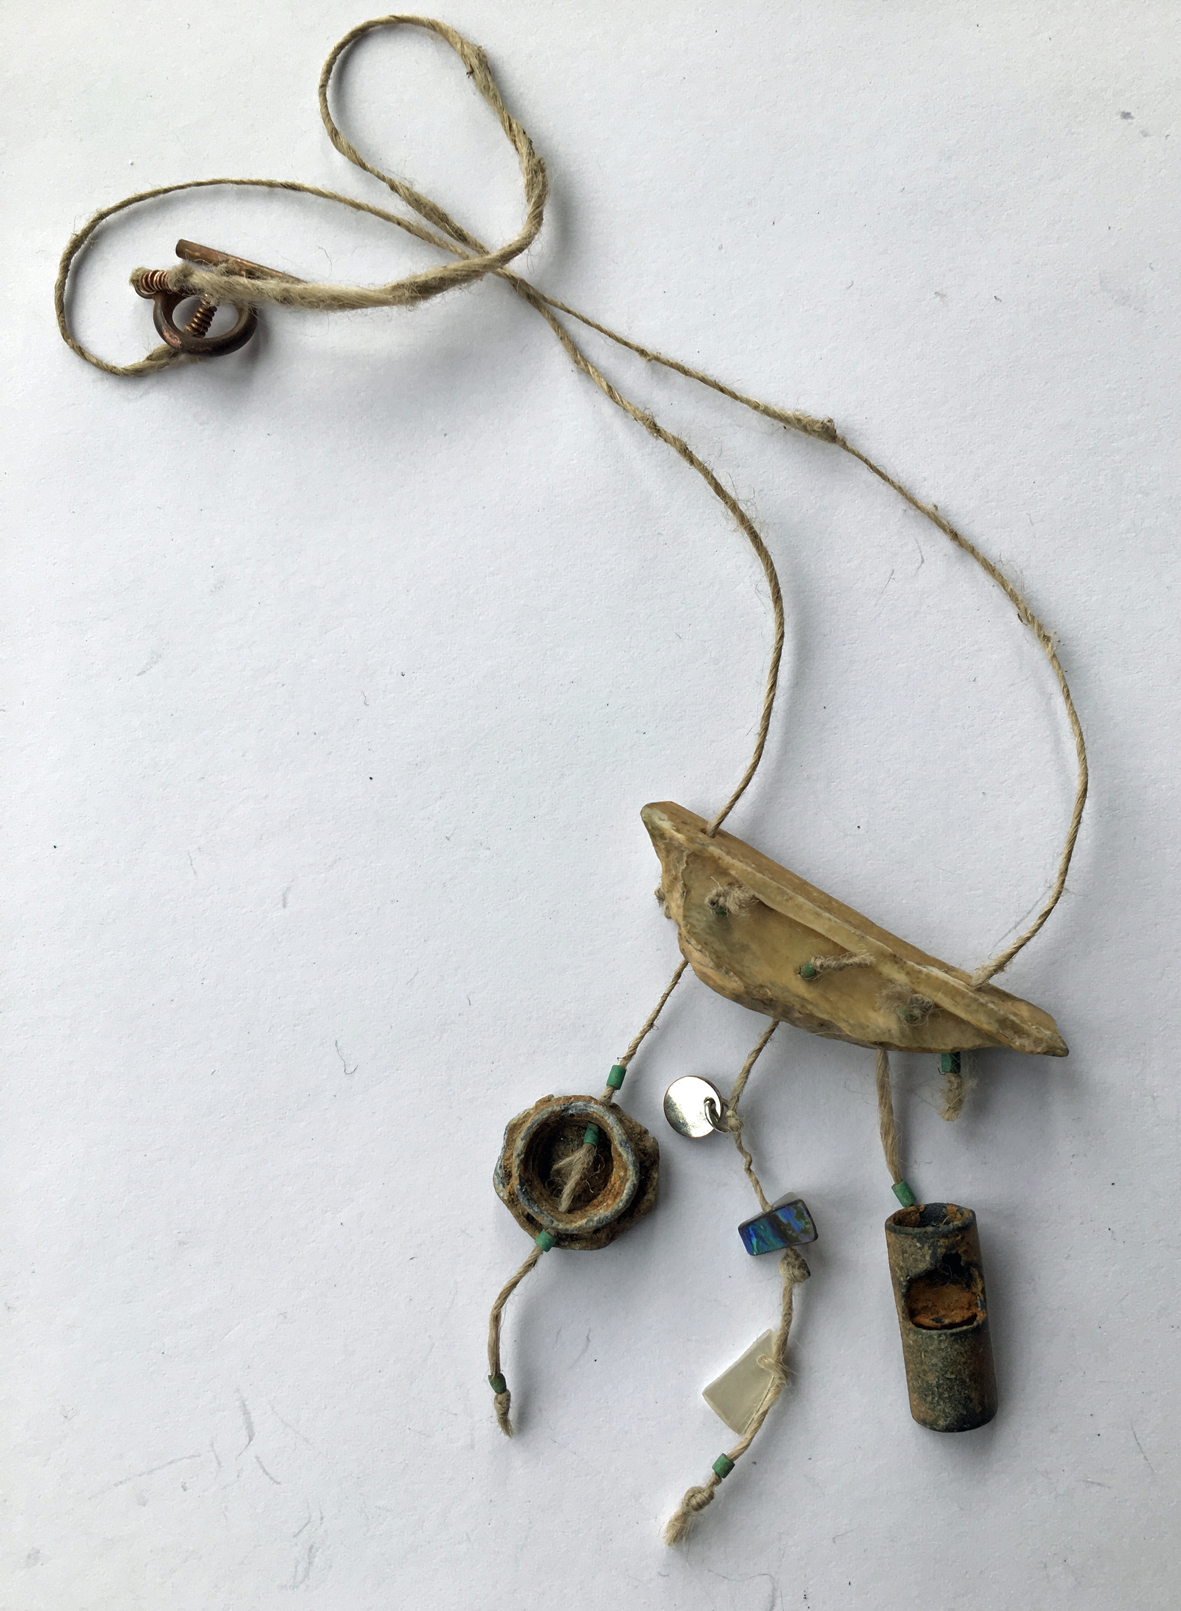
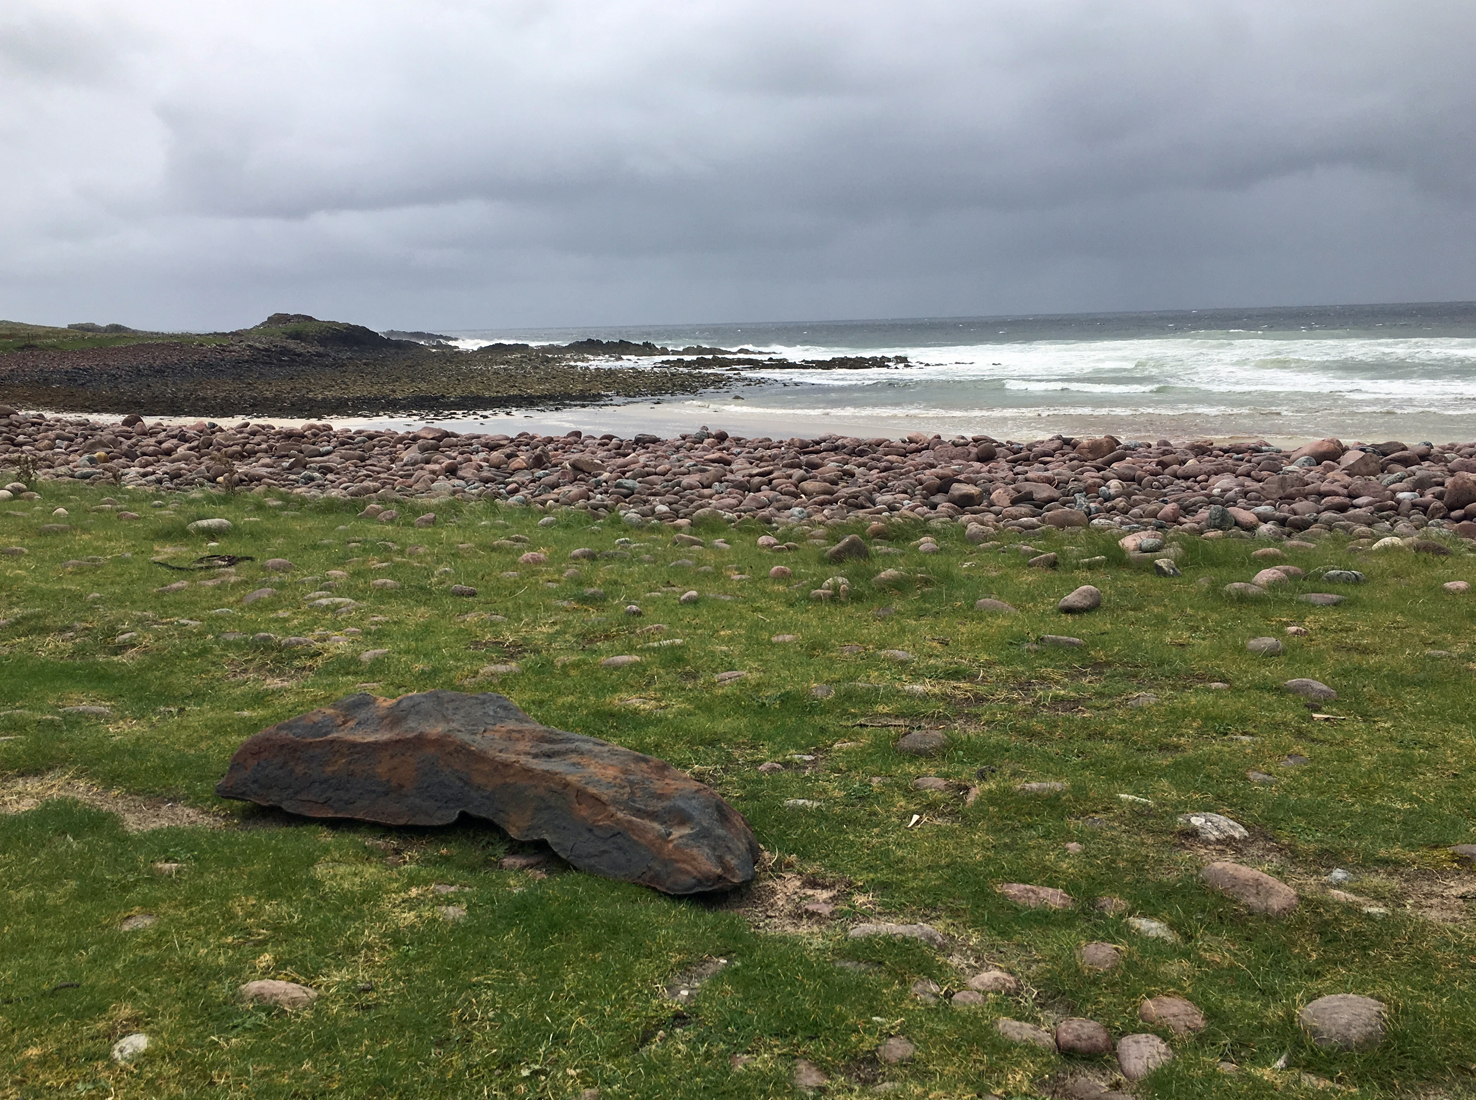
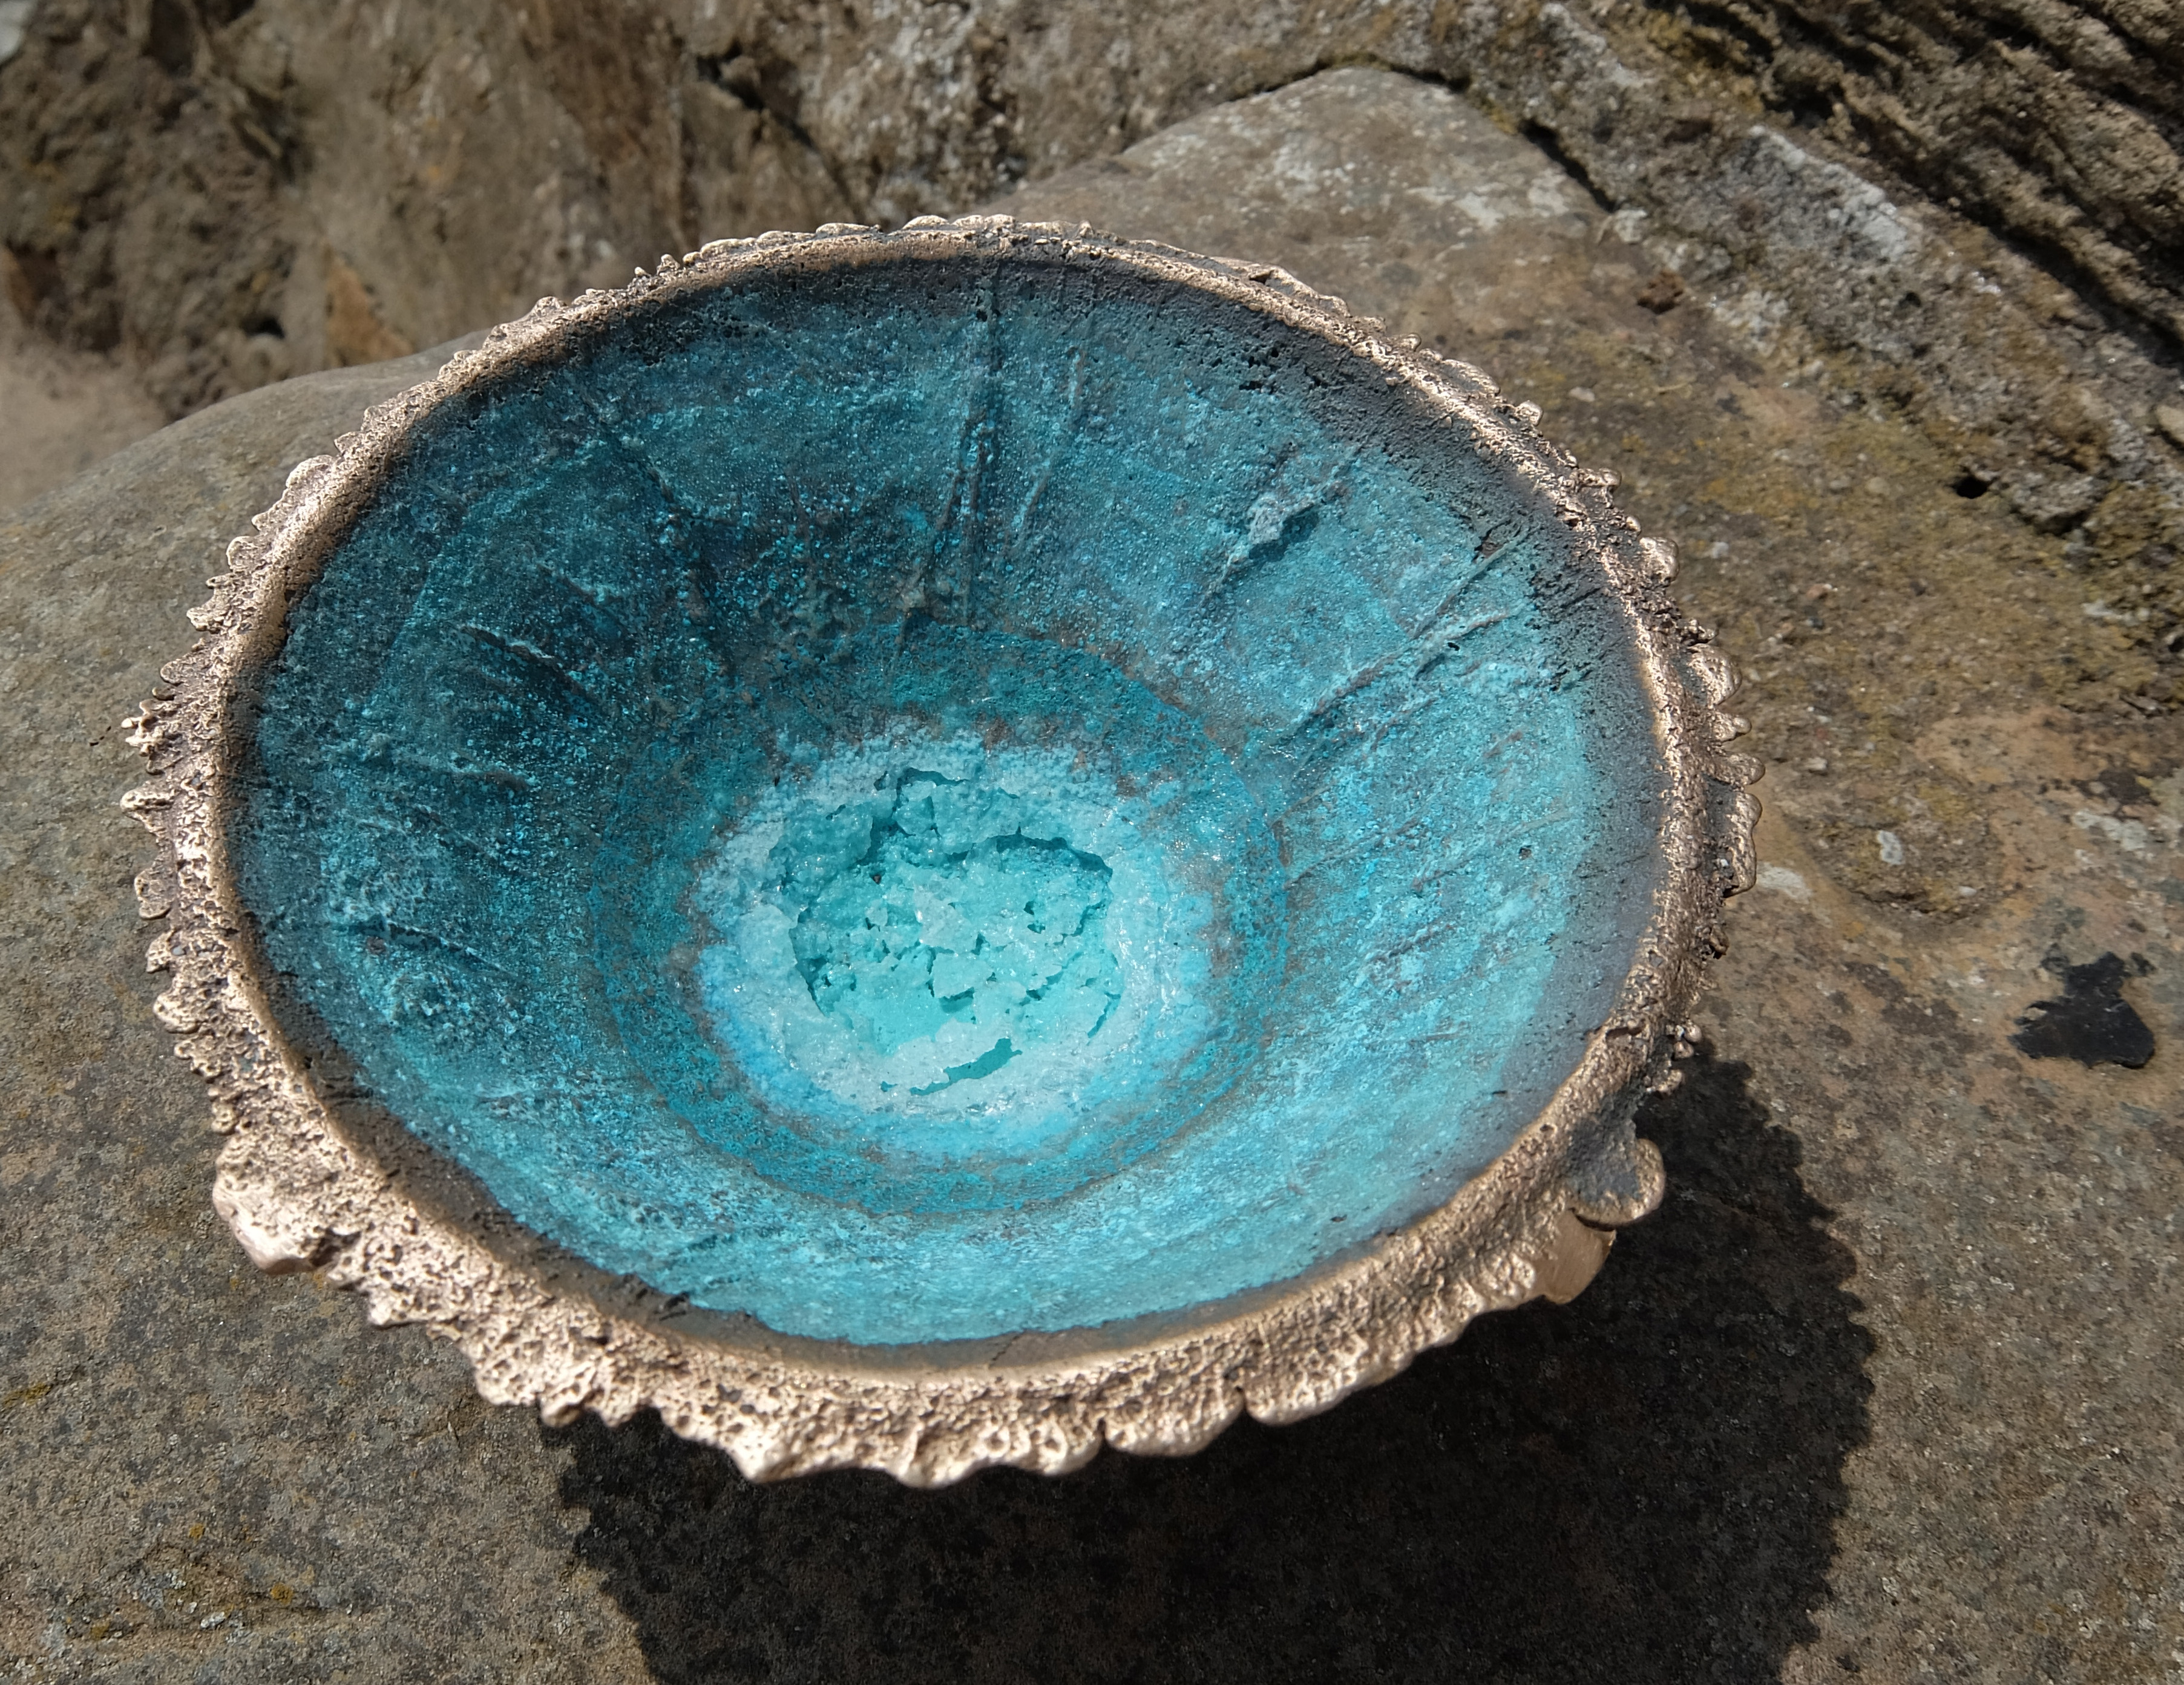
A sea water patinated bowl went to a new home as did a sea drift necklace.

sea drift 3

It’s always good to show people my work and studio and I particularly like new commissions.