Finally I got a weather window to start work on the second piece of my residency.
 We got a tent erected near to the broch, in the lee of the stones from the rockfall in the broch that the restoration project removed in season one. It was surprisingly easy to heave the stone lintel into the tent on Day 1 and surprisingly uncomfortable working in and out the tent. A lot of climbing in and out bent double and kneeling on uneven rocks was involved over the week. Some days were sunny and some grey and cold, nearly all were windy, with the wind battering the tent onto you as you worked.

So the process was:- firstly brush the bits off, then a layer of oil, which with hindsight was a bad idea; followed by a thin mix of silicon to pick up the details – because of the low temperatures and maybe insufficient mixing of the catalyst this seemed determined to follow gravity onto the groundsheet. However there was no choice but to continue, this time with a silicon layer with thickener. By then it was time to call it an end to Day 2. Although there were plans to return that night it was Day 3 that was spent putting on the third and final silicon layer with thickener. There was now a mighty fine silicon mould, but no way of knowing whether layer 1 had worked out.

Day 4 was onto the plaster and jute mother mould. I had a long and supportive conversation with the super helpful guy from Special Plasters before starting out. The first layer again seemed determined to make a mould of the ground sheet, but then we discovered that it was going off in the plaster puddles and this mix was perfect for the jute layers. I was paranoid that I’d make a plaster mould that couldn’t be removed, or carried out over the beach cobbles, so I designed a 6 part mould. I made little clay walls for each section and we filled them with three layers of plaster soaked jute with support straps.
 When I removed the clay wall on each piece I oiled the surface and designed a wedge to ease the separation of the sections. After the third section there was a mishap with the scales and we swapped for a different set. This seemed to hugely improve the consistency of the plaster from there on; and the job speeded up because there was no need to wait for the pools on the groundsheet to go off. The number of sections meant that the work went on into Day 5.
 However the plaster mould came off in sections as planned. Then the moment of truth, would the silicon mould have laminated, would the first layer have been successful? It was an anti climax, but a very welcome one, when it just lifted off and there it was, the first phase of a long process successfully completed. Perseverance paid off and I came away with a silicon mould that nestles in a plaster mother-mould.


 Thanks to Scottish Sculpture Workshop tech team and George Beasley.


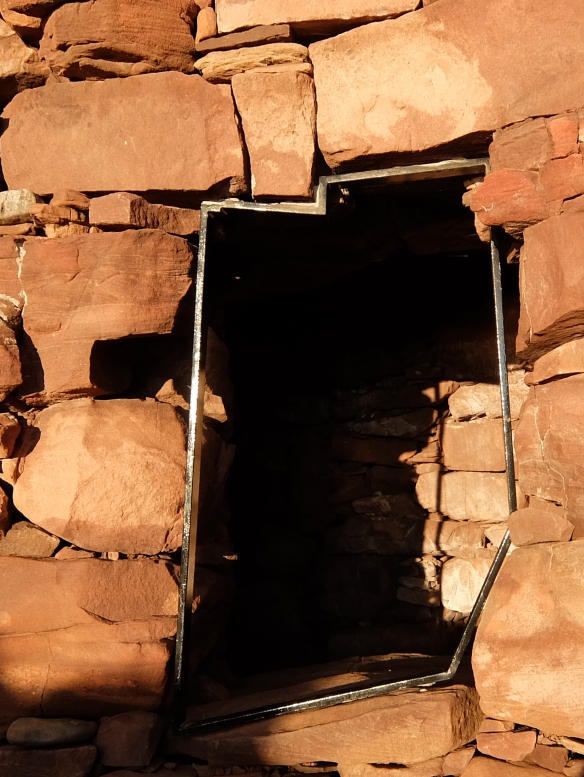
 My first impressions of the broch were of the majesty of the stonework and the rock bed that it is built on; and of the disorder of stones that had been part of the broch which fire, sea and time had scattered.
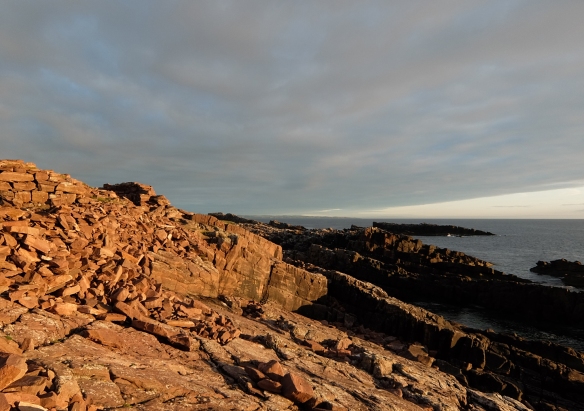

 It looks like we should be able to bring an iron pour to Assynt as part of creating my final piece and involving local people. It’s still a long way to go, but it looks like iron will come to the Iron Age broch. The access to the broch site is a big consideration, as is the weather – molten metal and rain do not mix so we will need careful plans (and shelter). I would not use the actual broch site or anywhere that would adversely impact the site and will probably do a lot of prep work at the Sculpture Workshop.
 Once I’ve had a chance to meet and talk some more with the archaeologists who are working on the broch finds, I’ll be back up in Assynt to carry on working on the design, meeting people and seeking out resources

 A view into the inferno
 This is George Beasley lighting the furnace for his demonstration run.
 This is the team discussing roles, the furnace is running on blown air to maintain and build up heat having been lit with the gas torch.
 Adding coke to the furnace onto a charge of scrap iron. The iron scrap melts and drops down to the bottom of the furnace. It is then tapped from the bottom into a crucible for pouring.
 Heating the crucible ready for it to receive molten iron for pouring into moulds.
 Yvonne taking notes for the log so we know how the furnace is running.
 Molten iron tapped from the furnace flowing into the crucible for pouring
 My sand moulds with clay along the joins to minimize the amount of burning to the boxes.
 Eden and I checking how the beach-sand moulds held up
 Dropping the bottom when the last tap has been used. This coke can be cleaned and reused.


