Italian Block – 2019 catch up

italianii

This goes back to May 2019 at the Sculpture Workshops. I would normally blog when the piece is finished, but things are on hold at present.

I discovered Italian block (thanks Eden) and made the beeswax model (above) for the main part of a commissioned piece remembering the heroes at Dunkirk and La Panne. The design is based on a torpedoed submarine in the Imperial War Museum in London.

subvii

dunkirksketch

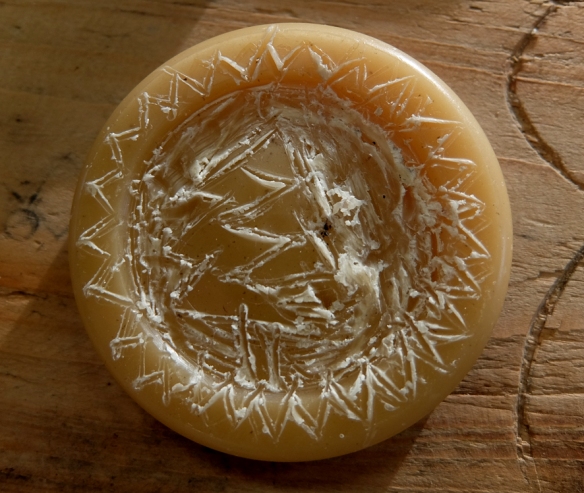
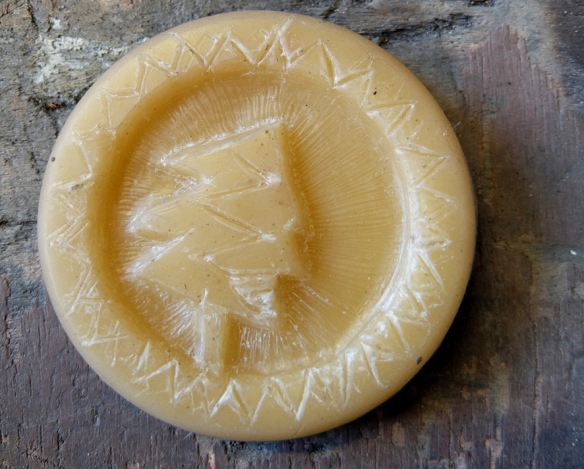
I made a clay model and then took a beeswax cast from the clay. The top photo is the wax cast which has been sprued (adding runners for the metal, risers for escaping air and a funnel for pouring in the metal)

The italian block is made by making a flask of chicken wire around the wax, which is stood in pouring position in the flask.

italianiii

This is draped in hessian soaked in plaster to form a plaster flask surrounding the wax,

italiani

The flask is then filled with the plaster mixture to create a solid block around the wax and dried.

italian

The block mould is then heated slowly in a kiln overnight to melt out the wax and fire the plaster mix.

italianv

The mould is ready to be poured whilst still hot, so that it doesn’t fracture with the shock of the molten metal. This piece was poured at the end of May.

This traditional method can be used for bronze, silver and lower melt metals, but not for iron.

The Sculpture Workshop is reviewing its safety procedures and stopped all Italian block firing in summer 2019, pending the outcome of this review. Plans are in hand to remodel the metal workshops and I hope that when this happens I can explore Italian block further. I really like the method as offering great scope for design whilst being pretty sustainable and low tech.


Sea drift necklace II

seabreezeii

The sea didn’t bring me the witch stone direct, it’s from a beach in New Zealand; the glass bead is from Czech Republic and the dolphin charm is obviously a Firth of Forth dolphin. Just putting together some individual pieces for ENOS 2019 which are sort-of sustainable as I’m not buying new stuff.

Clachtoll Art Project – Bronze community sculpture

The other piece that I’ve been working on is a community sculpture.

Eighteen children from Lochinver primary have prepared designs and tried their hand at wax carving using local beeswax.

waxtreeschooli

Most of the children also did sand piece-moulds to cast metals beads which we then made up into nettle-stringed necklaces. Thank-you to the people who supported me with this workshop.

waxtreeschool

I then cleaned up the waxes so that they would cast well; and using the same method as the children (2 part sand moulds), I cast the first sixteen mini sculptures in bronze. I have been cleaning these – cutting of the running system, filing them back, sanding and polishing them.

waxschoollk

The Ullapool High school children who came to the broch helped run a copper smelt. The copper from that smelt was added to the bronze used for these mini sculptures. The high school pupils also cast pewter pieces using clay models that they had designed themselves.

The community sculpture has been growing with local people making mini sculptures.

groupmouldiiAt a public event on Stoer field we smelted some more copper, which will be used in casting these waxes in bronze (thanks, Nigel, Fiona and Boyd)

Many of the dig volunteers and other people involved with the broch have added their designs, so I have a further 24 waxes cleaned and prepared for casting.

publicsmelt

The discussion on where they may be installed continues, but I hope they can be affixed to bedrock in a safe place near the broch.

The final public event at Glen Canisp on 16th November 2018 will be to cast the final waxes for the sculpture (including copper from the public smelt). We also have a special request to demonstrate the alloying of copper with tin to give bronze. I hope to have more details of the event planning soon.


Stone to Bowl model making

waxfingersprued 
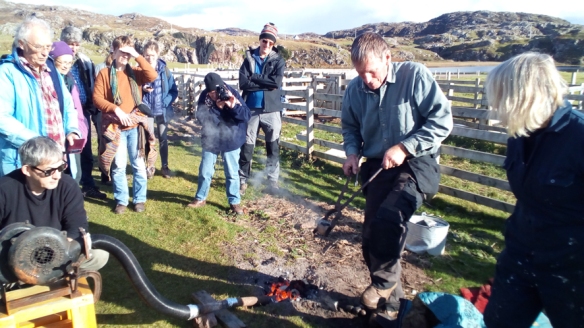
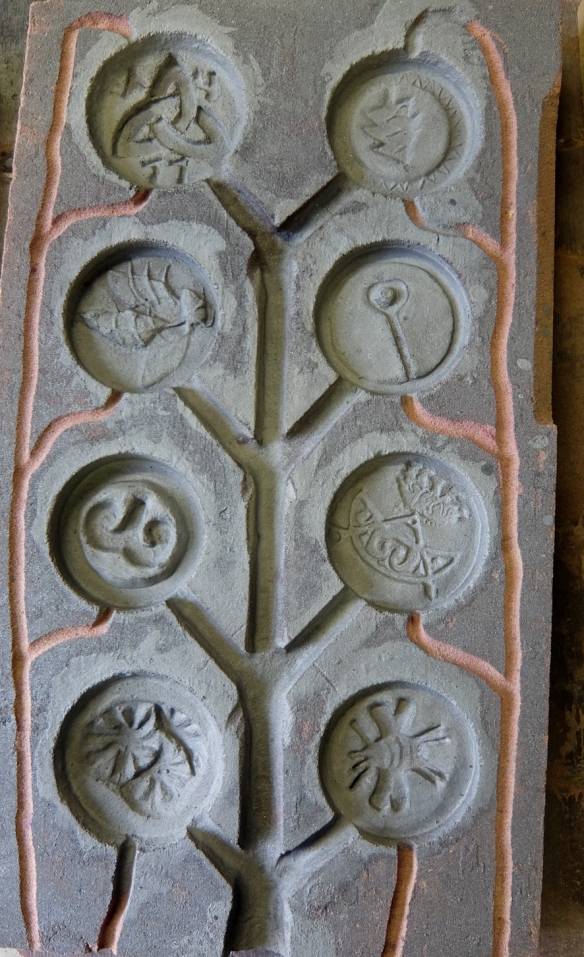
I make my models using beeswax from a beekeeper who lives near St Andrews. She and her bees make lovely wax that smells delicious and is just right for making models.

I  started small but wanted to make fine models to challenge the techniques. I made finger tip rings by dipping my fingers in the melted wax. stonetobowlJuliaCowieThese then need to have pouring stalks added (sprues). They are then ready to be dipped in the clay mix to build up the mould.

stonetobowlday11iv

After successfully casting finger tip rings I moved on to small bowls which were made by dipping clay bowls in wax and adding pouring stalks.


The allure of copper – Stone to Bowl

copperbowl2018

Alongside the traditional copper casting project I have done a copper/silver cast; using plumber’s copper and silver.

copperpourjuneiicopperpourJunei

and two-part sand moulds. This is partly sustainable, with all materials being recycled; but the heat used is gas.

copperpourJune

copperbowl2018i

One of the pieces sold unfinished at ENOS 2018. The bowl has a metal ‘pebble’ inset, a blue heat patina and is almost clean copper on the exterior because I used a different greensand on the outside.

Some learning – try different sands to give cleaner surfaces but retain textures, cost in the silver, keep experimenting, copper is an attractive metal although challenging to work with.

Stone to bowl – finger tips

fingersiii

A bit of a leap forward in time. These are the first pieces cast in copper from beeswax lost-wax models dipped in clay mix. I’ll explain the process more later.

fingersiv

The finger tips are a simple development of the work that I was doing in Munich and were a good test of the process, being very fine but also small. I like that they are handmade by me for my hands; and exemplify the whole process- having been made using environmentally-friendly, traditional processes.

The surface finish is pitted, but I like this and I plan to make more. It would be fun to do a community finger project.

Takako Selway and I will do some filming of the process for her film about “Hands Making”

Stone to Bowl. Copper smelting

Finally I am three weeks into my Stone to Bowl residency and I feel that I should share progress.

One element of Stone to Bowl is to develop a replicable way of smelting copper from malachite/copper ore in a traditional way that means that I can work in the landscape anywhere.

First task was to source some Scottish copper ore. The mine in Bridge of Allan is long closed, but I found some copper traces on the waste heap. These photos show the mine entrance and the pieces that I collected.

After initial smelting experiments I have been putting the ore in closed ceramic  balls with added charcoal to give a reducing atmosphere for the smelt. (While I was on my residency another artist was successfully smelting malachite using oxy-acetylene.)

The furnace is charcoal burning; and for these experiments I was using an electric air blower, although I will use bellows when I understand the process more. The dry ceramic balls are made of a local refractory clay mixed with fibre -horse dung, and sand. Inside is copper ore in pea size chunks  with 25% charcoal. The balls are placed on the furnace charcoal once it is burning well and the furnace is run until the ore is to a high enough temperature to smelt, hopefully. The balls are then plunged into water and broken open.

The first smelt was not a complete success. Some copper was formed, but a lot of this was pelletised rather than consolidated and some had to be panned from the ashes of the furnace.

cupan

However I reheated this copper to consolidate it and a reasonable amount of copper was retrieved. Again I used an electric furnace for this process while I am experimenting.

IMG_1370

I am not sure that a chimney furnace is needed, a horseshoe hearth might be as successful as one can see what is going on. The chimney furnace is made of a refractory clay mix similar to that used for the balls.

I tried another smelt later in the residency of which more anon.

Stone to Bowl

The first trial casting of the copper I smelted last year at the Scottish Sculpture Workshop was a success. I added a high percentage of silver (15%) and used the top temperature setting on my electric furnace and the copper alloy poured well. The first mould was a small toy person.

The Stone to Bowl project will use lost-beeswax, ceramic dip moulds and sling-casting, but I’m trialing different parts of the process using other technologies.

Stone to Bowl

stonetobowlvi

Following further research I have made up some clay balls with a mixture of malachite and charcoal inside to smelt. Copper results from removing oxygen from the copper ore, so the sealed clay balls should be more successful that the pit smelt that I did at the Sculpture Workshop.

stonetobowliii

I like the way the clay balls look a bit like poppy seed heads.

stonetobowli

I’ll let them dry out a bit before I try and get them to smelting temperature in a charcoal furnace.

VACMA support acknowledgement-text + logost


Stone to Bowl

VACMA support acknowledgement-text + logost

I have been awarded funding for my Stone to Bowl project. It will pay for several weeks at the Scottish Sculpture Workshop in 2018 to complete the project which will take copper ore through to cast pieces, using traditional and fully sustainable methods.

I’ve been doing some preparatory work:-

stonetobowlvii

I experimented with melting the copper that I pit-smelted this year at the Sculpture Workshop, adding in some silver to lower the melting temperature. I melted 115gm and got 74gm of copper and some residual oxides which didn’t melt. The left hand metal is copper, the right is the original smelt material which is less pure. Next trial will be to sand cast with the copper/silver alloy.