Italian Block – 2019 catch up

italianii

This goes back to May 2019 at the Sculpture Workshops. I would normally blog when the piece is finished, but things are on hold at present.

I discovered Italian block (thanks Eden) and made the beeswax model (above) for the main part of a commissioned piece remembering the heroes at Dunkirk and La Panne. The design is based on a torpedoed submarine in the Imperial War Museum in London.

subvii

dunkirksketch

I made a clay model and then took a beeswax cast from the clay. The top photo is the wax cast which has been sprued (adding runners for the metal, risers for escaping air and a funnel for pouring in the metal)

The italian block is made by making a flask of chicken wire around the wax, which is stood in pouring position in the flask.

italianiii

This is draped in hessian soaked in plaster to form a plaster flask surrounding the wax,

italiani

The flask is then filled with the plaster mixture to create a solid block around the wax and dried.

italian

The block mould is then heated slowly in a kiln overnight to melt out the wax and fire the plaster mix.

italianv

The mould is ready to be poured whilst still hot, so that it doesn’t fracture with the shock of the molten metal. This piece was poured at the end of May.

This traditional method can be used for bronze, silver and lower melt metals, but not for iron.

The Sculpture Workshop is reviewing its safety procedures and stopped all Italian block firing in summer 2019, pending the outcome of this review. Plans are in hand to remodel the metal workshops and I hope that when this happens I can explore Italian block further. I really like the method as offering great scope for design whilst being pretty sustainable and low tech.



Iron Age bronze working

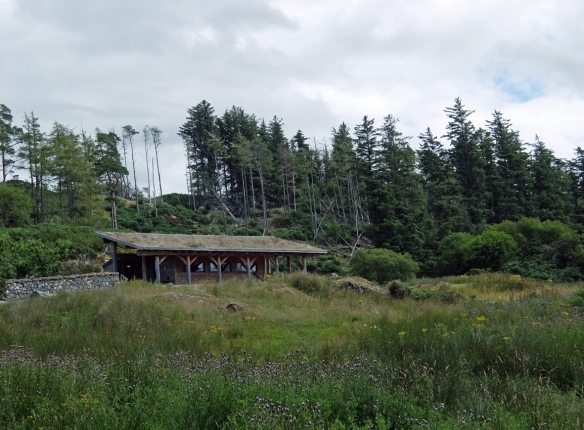
We had such fun at the final public event for the Clachtoll Broch project.

furnaceboyd

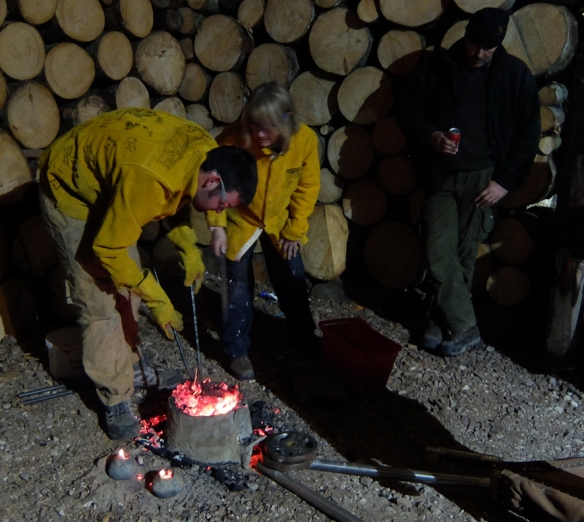
Uist Corrigan (who is now at Edinburgh College of Art) joined me and some local folk and volunteer archaeologists. (That’s Uist keeping an eye on the furnace)

recording

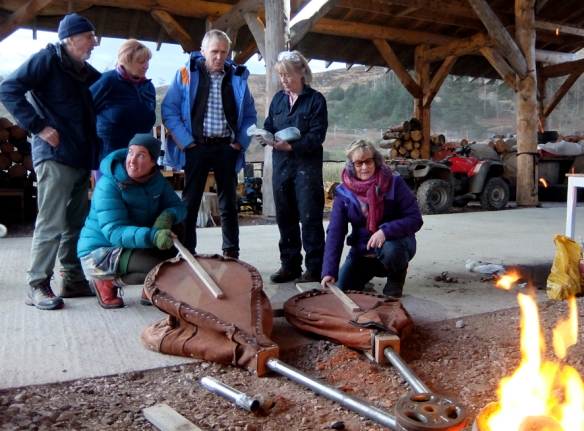
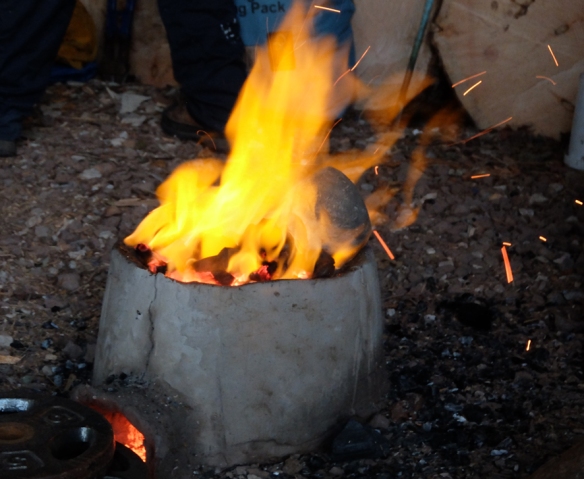
We had the bellows from SSW and built the furnace using local clay, sand and horse dung.

bellowsglencanisp

glencanispfurnaceaWe had some local charcoal courtesy of Chris (although most of it came from the Chinese wholesalers in Dundee). Heather Fulton took loads of photos, some of which I’m using here.
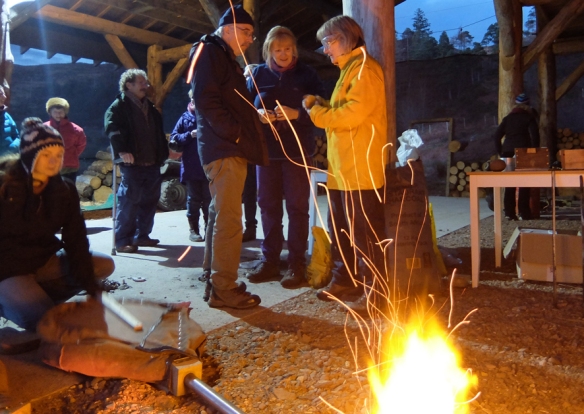
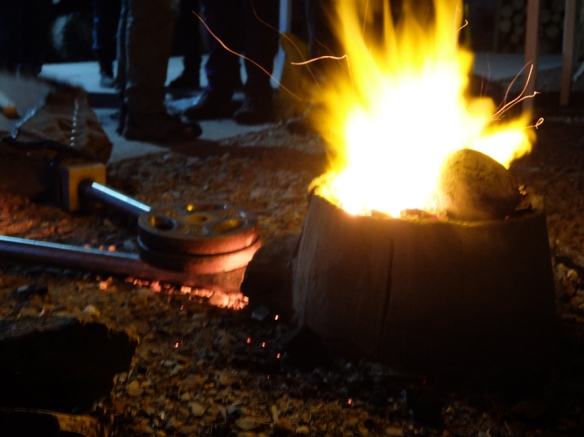
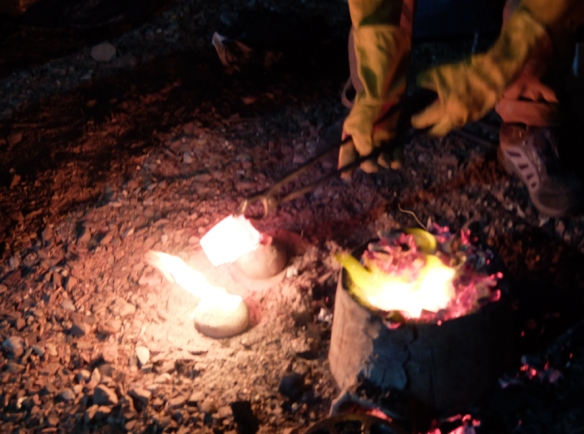
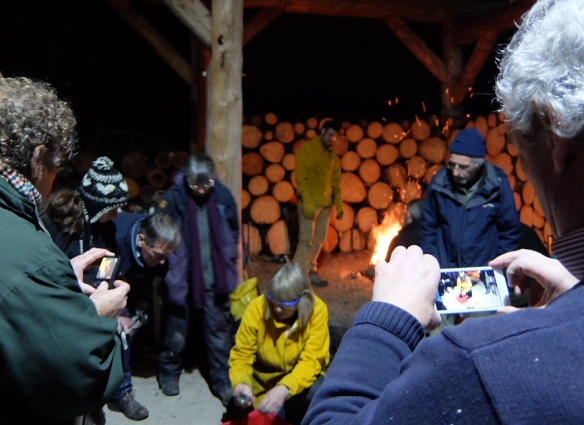
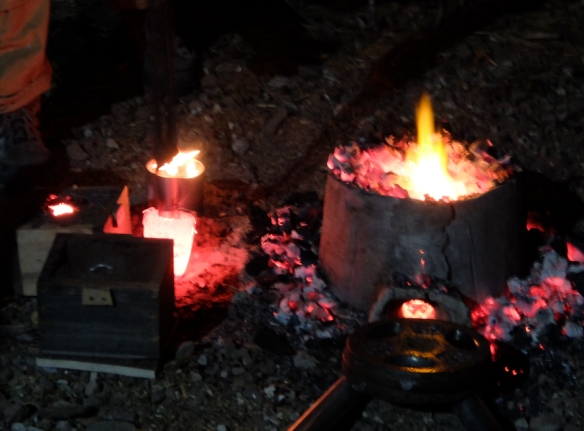
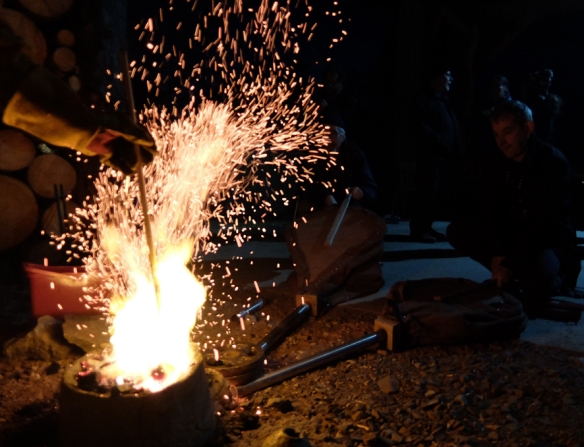
We started before dusk and did the final copper smelt of the project.

Katbellowsglencanisp

Just about everyone helped with the bellows, it’s not so easy, but it’s sociable, thanks all who joined in.

We cast the two community bronzes which were lost wax cast.

meltoutglencanisp

This is burning out the wax.

lostwaxpour

Pouring the bronze and, below checking out the crucible for the next pour.

lostwaxstu

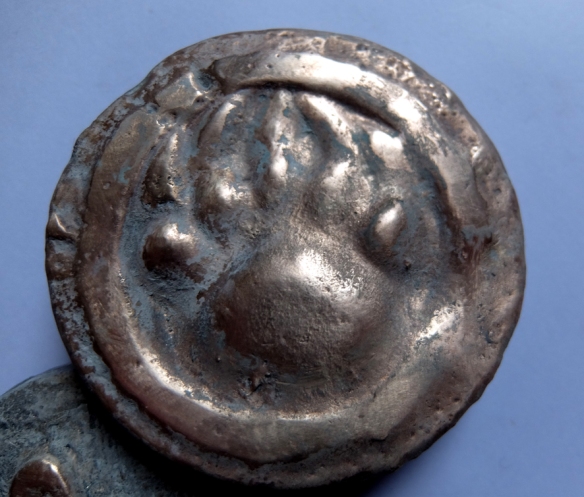
One of the bronzes was a bear foot print, designed by Bill.

bearBZBill

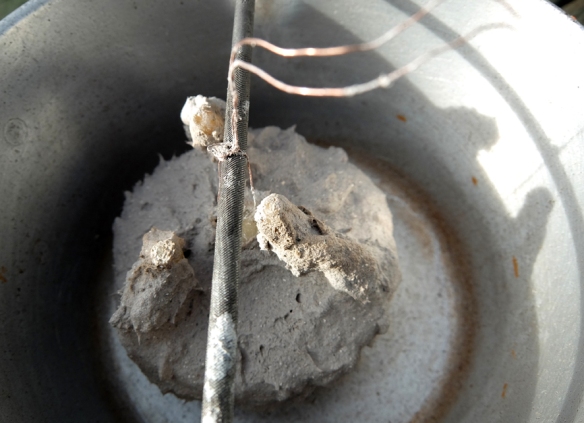
I had spent the previous week preparing the waxes, adding runners and risers and then  dipping them in a clay slurry mix to build up layers of mould which was then finished by enclosing in a cob clay with a pouring funnel.

waxdipclachtoll

We kept the furnace going (and the bellow workers) to pour the last bronzes – One closed oil sand 2-part mould, an open sand box with local sand and clay mix; and a closed 2-part mould (although we ran out of bronze in the end)

furnacesandmould

Most people went up to hear Gordon’s talk, but I’d promised Mandy Haggith that we’d try a copper alloy. So we switched to the hand blower to melt the copper, including from the local smelting, and added some tin grain to get a very local bronze alloy.

The open sand mould was Roz’s bird over waves design; and the closed one Stuart’s panda:-

The next morning I said goodbye to the Art Studio for 2018 and headed back to my studio to finish the final bronzes.

studio

My thanks to everyone for making the Clachtoll broch art project such good fun.

Stone to Bowl clay dip moulds; incl wax melt out and all-in casting

Returning to Stone to Bowl:-

stonetobowlmouldfiringOnce the wax models have been made and sprued they are then dipped in a slurry mix of clay (this time from Kingsbarns) sand (Cellardyke beach) and fibre (horse poo from near Kilrenny). There are two mixes, one is fine and the early coats are done in this and the other is coarser to build up the outer layers. Each layer has to dry before the next layer is added so it takes several days to build up the mould.

stonetobowlday5iv

When the mould is built up a clay funnel is added. The moulds are then ready for the wax to be burnt out. The first photo shows the burn out. Below are the moulds that have been burnt out.

stonetobowlburnoutmoulds

The link below is to an animated film about lost wax casting, which explains the process well.

https://hyperallergic.com/286780/an-animated-guide-to-the-bronze-age-technique-of-lost-wax-casting/

I also tried out a casting method where you burn out the wax and then put the copper alloy in one end of the mould. You then seal up the mould with a lid and clay mixture and return the mould to the furnace. stonetobowlmoulds

This photo shows the moulds and lids ready for burn out.

stonetobowlallinmoulds

This photo shows the all in one moulds ready to return to the furnace for the copper melting stage.

In theory the copper heats to melting point and you upend the mould and the copper pours into the part that you want to cast, In practice because you can’t see the metal it is difficult not to either get incomplete melting or over heating and the metal seeping out through the ceramic shell.

stone2inmouldcasting

The photo shows incomplete melting, the copper is fused (bottom right)

stone2allincast

This photo shows a mould where the metal over heated and seeped through the mould walls. There are two moulds, one complete (but rattles so I’ve not broken it) and an open one.

The moulds with incomplete melting can be ‘re-used’ as open moulds.


Stone to Bowl model making

waxfingersprued I make my models using beeswax from a beekeeper who lives near St Andrews. She and her bees make lovely wax that smells delicious and is just right for making models.

I  started small but wanted to make fine models to challenge the techniques. I made finger tip rings by dipping my fingers in the melted wax. stonetobowlJuliaCowieThese then need to have pouring stalks added (sprues). They are then ready to be dipped in the clay mix to build up the mould.

stonetobowlday11iv

After successfully casting finger tip rings I moved on to small bowls which were made by dipping clay bowls in wax and adding pouring stalks.


Workshop in Munich

fingeringv

I did a wonderful workshop at Peter Bauhuis’s workshop. A different casting technique (lost wax), an opportunity to work with different alloys and forms and a generous and expert teacher. This finger ring is in 800 silver and emerges from casting with this great surface patina and texture.

mixeedbowls copy

These little bowls are shibuishi, copper and argentium; in a style influenced by Peter’s work. This is the first time that I have cast argentium. I also now know the secret of successful copper casting.

petersprues

This photo is of Peter sprueing up some wax pieces, below is his bench peg.

peterspegcuring

This copper ring, made from a twist of wax wire dipped, came out of the casting process with this lovely patina and texture. It already has a new owner.


Orissa 3

We also tried wax modeling for lost wax casting.

The was was warmed then extruded through a large ‘garlic press’.

Image

Image

The wax string was then wound round clay formed models.

Image

We made elephants.

Image

Again the designs were made to order for craft outlets.

Image

The wax thread models were then coated in another layer of clay and were then ready for casting.

Image

Image