Italian Block – 2019 catch up

italianii

This goes back to May 2019 at the Sculpture Workshops. I would normally blog when the piece is finished, but things are on hold at present.

I discovered Italian block (thanks Eden) and made the beeswax model (above) for the main part of a commissioned piece remembering the heroes at Dunkirk and La Panne. The design is based on a torpedoed submarine in the Imperial War Museum in London.

subvii

dunkirksketch

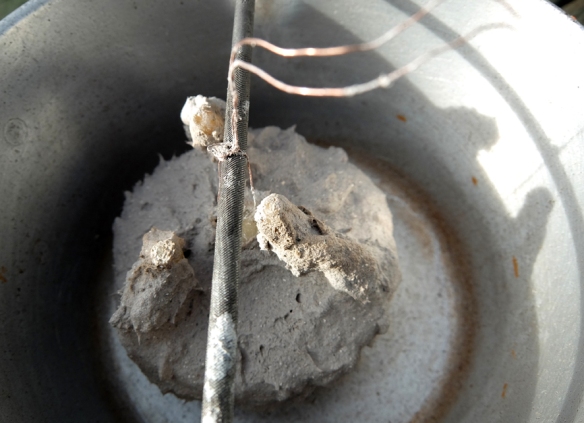
I made a clay model and then took a beeswax cast from the clay. The top photo is the wax cast which has been sprued (adding runners for the metal, risers for escaping air and a funnel for pouring in the metal)

The italian block is made by making a flask of chicken wire around the wax, which is stood in pouring position in the flask.

italianiii

This is draped in hessian soaked in plaster to form a plaster flask surrounding the wax,

italiani

The flask is then filled with the plaster mixture to create a solid block around the wax and dried.

italian

The block mould is then heated slowly in a kiln overnight to melt out the wax and fire the plaster mix.

italianv

The mould is ready to be poured whilst still hot, so that it doesn’t fracture with the shock of the molten metal. This piece was poured at the end of May.

This traditional method can be used for bronze, silver and lower melt metals, but not for iron.

The Sculpture Workshop is reviewing its safety procedures and stopped all Italian block firing in summer 2019, pending the outcome of this review. Plans are in hand to remodel the metal workshops and I hope that when this happens I can explore Italian block further. I really like the method as offering great scope for design whilst being pretty sustainable and low tech.


iron lintel casting

lintelfurnace

The day dawned bright and by lunchtime the mould was finally finished; Eden had mended the furnace and the ‘bull ladle’ was also fixed; the fork lift was in place to take the weight of the ladle; Michael had cracked the scrap iron (thanks Michael) and weighed the bags of coke and iron. Eden must have laid the bed of coke in the furnace when I was working on the mould indoors; the air blowers and gas tanks were in place. It was decided by the tech team to go ahead with the pour.

The furnace was lit and the air blower turned on to force the temperature up to melting point; the gas blower was turned on to the ‘bull ladle’ to heat it up ready to receive the molten iron when the furnace was tapped.

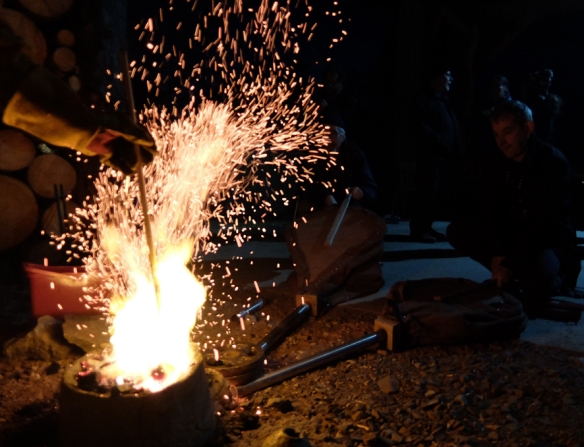
The photo above shows Michael adding a charge of coke and scrap iron to the top of the furnace. As the iron scrap heats it becomes molten and drops to the bottom of the furnace. When enough iron for the pour (over 65kg) is molten at the bottom of the furnace the bung is broken so the iron can run into the ‘ladle/crucible’.

lintelbullladle

The weight of the iron is taken by the fork lift and Michael and George manoeuvred the bull ladle into position and tipped it to pour the molten iron into the mould. There was a delay when the fork lift wouldn’t start and an alternative lifting device was tried before reverting to the fork lift.

lintelpour


Towards the end of the pour the bull ladle got caught in some way and the pour was aborted. The mould was showing metal through the air vents, so the general view was that the pour could be complete. The team have reviewed the equipment and made safety alterations since.

The metal needed to cool before I could peek inside, so I left it for the weekend. On Monday I removed the mould pieces to reveal an iron lintel, yeah


lintelcastThanks to Scottish Sculpture Workshop tech team and George Beasley.

Iron lintel – mould making continues

lintelmouldwax

The silicon mould and plaster mother mould that I took on the headland at Clachtoll made it safely to the Scottish Sculpture Workshop for the next stages.

Firstly I re-constructed the plaster mould so that I had one complete cradle for the silicon. Then I pinned the silicon into the plaster support mould and coated the inside of the mould with wax. I stippled the first layer on to capture the detail and and subsequent layers were brushed on to build up a firm mould a centimetre or so thick (thicker at the top edge) I then built the wax up as far as possible to remove undercuts on the inside.

lintelmouldi

I removed the wax wax from the silicon ready to start taking the resin-bonded sand mould.

I built a temporary box and used petrobond sand to build up the base to the wax. I did not do a good job on this, so had to make extra mould pieces at the penultimate stage (note to self to do better next time).

The resin-bonded sanded is mixed and rammed into the box around the wax, taking care to avoid undercutting.

lintelmouldii

lintelmouldiv

When the top part of the bonded sand mould was complete the whole box was turned and the ‘rescue pieces’ added. The base of the mould could then be made.

lintelmouldv

This makes a particularly uninspiring photo (above), but it over took a week to get there.

lintelwash

The mould came apart as planned and was built up into the base and the top parts. I cleaned the joins: Michael (SSW’s assistant technician) helped with the core wash; I found the bars to hold it closed and Eden (SSW technician) working with George Beasley drilled the pour holes and air vents; the piece was moved outside; the cracks were glued; the pour cups glued on; the clamp bars put on and it was ready to pour.

Unfortunately I only have video footage of this stage so I can’t show it. The next post will show the pour.

Iron Age bronze working

We had such fun at the final public event for the Clachtoll Broch project.

furnaceboyd

Uist Corrigan (who is now at Edinburgh College of Art) joined me and some local folk and volunteer archaeologists. (That’s Uist keeping an eye on the furnace)

recording

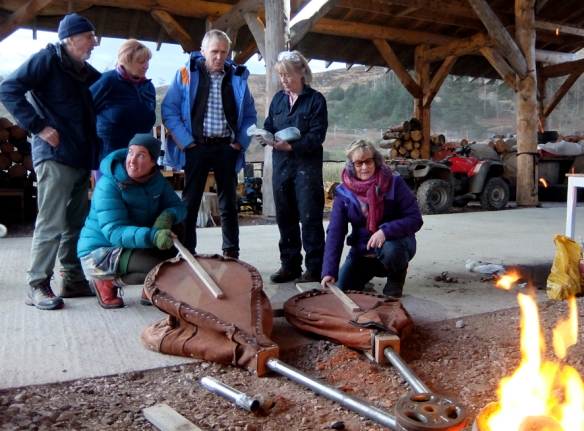
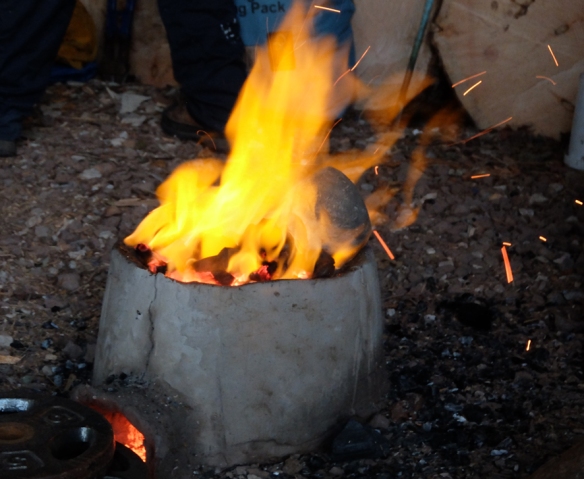
We had the bellows from SSW and built the furnace using local clay, sand and horse dung.

bellowsglencanisp

glencanispfurnaceaWe had some local charcoal courtesy of Chris (although most of it came from the Chinese wholesalers in Dundee). Heather Fulton took loads of photos, some of which I’m using here.
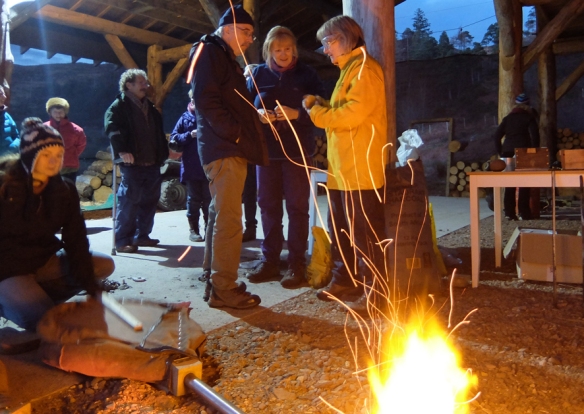
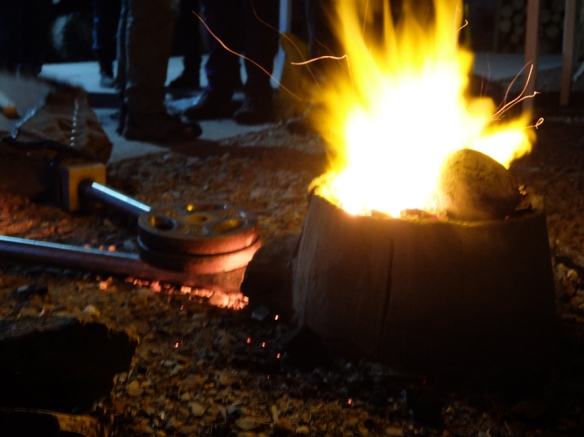
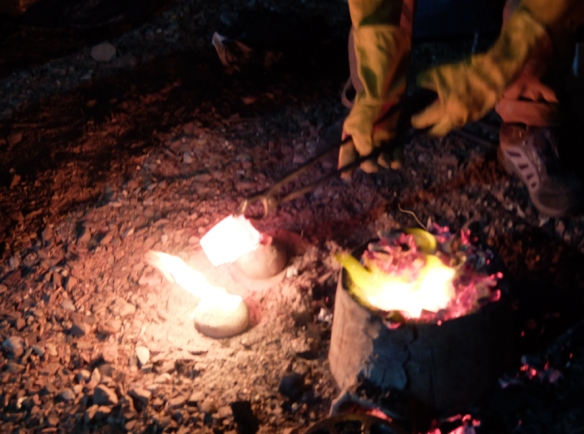
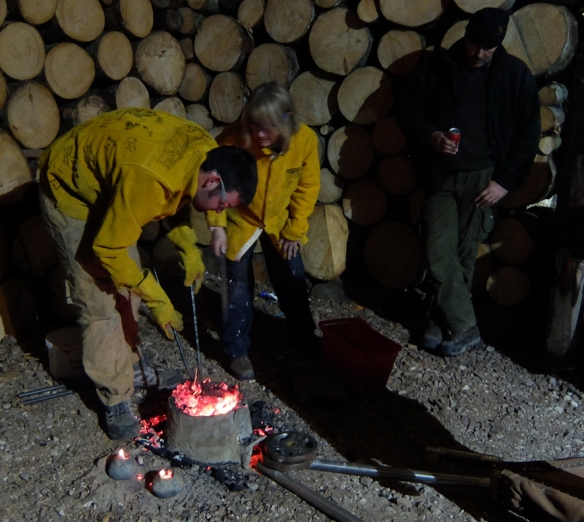
We started before dusk and did the final copper smelt of the project.

Katbellowsglencanisp

Just about everyone helped with the bellows, it’s not so easy, but it’s sociable, thanks all who joined in.

We cast the two community bronzes which were lost wax cast.

meltoutglencanisp

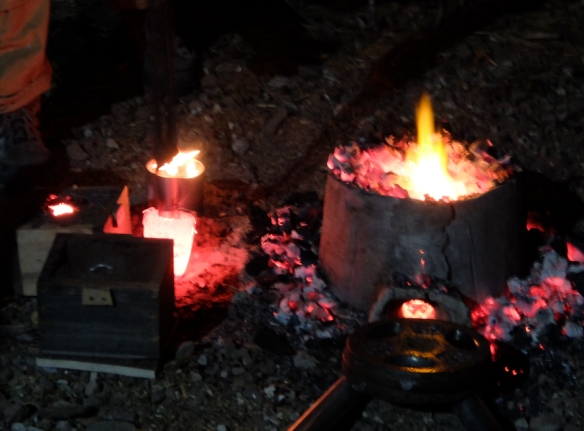
This is burning out the wax.

lostwaxpour

Pouring the bronze and, below checking out the crucible for the next pour.

lostwaxstu

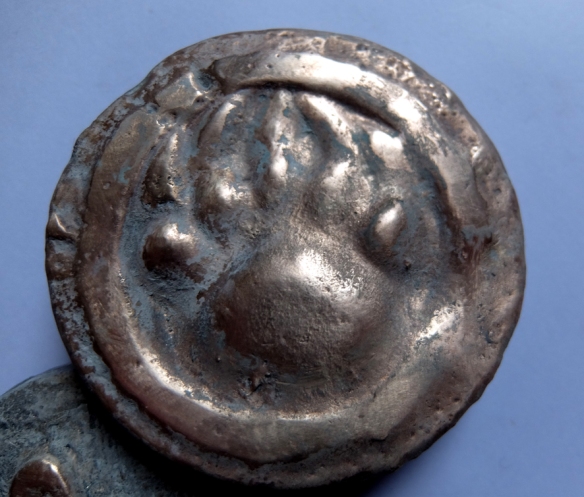
One of the bronzes was a bear foot print, designed by Bill.

bearBZBill

I had spent the previous week preparing the waxes, adding runners and risers and then  dipping them in a clay slurry mix to build up layers of mould which was then finished by enclosing in a cob clay with a pouring funnel.

waxdipclachtoll

We kept the furnace going (and the bellow workers) to pour the last bronzes – One closed oil sand 2-part mould, an open sand box with local sand and clay mix; and a closed 2-part mould (although we ran out of bronze in the end)

furnacesandmould

Most people went up to hear Gordon’s talk, but I’d promised Mandy Haggith that we’d try a copper alloy. So we switched to the hand blower to melt the copper, including from the local smelting, and added some tin grain to get a very local bronze alloy.

The open sand mould was Roz’s bird over waves design; and the closed one Stuart’s panda:-

The next morning I said goodbye to the Art Studio for 2018 and headed back to my studio to finish the final bronzes.

studio

My thanks to everyone for making the Clachtoll broch art project such good fun.

Iron Casting photos from Studio RoRo

I have some great photos of the Iron Pour that Steve and I supervised at SSW, thanks to Ross Fraser Maclean of Studio RoRo

ironpourixA view into the inferno

ironfurnaceiThis is George Beasley lighting the furnace for his demonstration run.

ironpoureThis is the team discussing roles, the furnace is running on blown air to maintain and build up heat having been lit with the gas torch.

ironpourivAdding coke to the furnace onto a charge of scrap iron. The iron scrap melts and drops down to the bottom of the furnace. It is then tapped from the bottom into a crucible for pouring.

ironpourviiHeating the crucible ready for it to receive molten iron for pouring into moulds.

ironpourviiiYvonne taking notes for the log so we know how the furnace is running.

ironpourxiMolten iron tapped from the furnace flowing into the crucible for pouring

ironpourg copyAndrew and Uist pouring iron

ironpourfMy sand moulds with clay along the joins to minimize the amount of burning to the boxes.

ironpourcEden and I checking how the beach-sand moulds held up

ironpourdDropping the bottom when the last tap has been used. This coke can be cleaned and reused.

Three iron bowls heading to the Fisher Galleries, Pittenweem.

ironbowlblog

I have finished this iron bowl that was cast after SSW Open Day.

ironpour

ironsmalli

I think I have finished the smaller bowl cast that day too.

ironsmall

You may recall that it emerged looking like this.

Both incorporated iron ‘beach-combed’ in Cellardyke and have texture from sand from Cellardyke.

ironlarchi

This third piece was made at a residency at SSW and has the imprint of larch cones.

I’m going to take these three iron pieces to the Fisher Studio and Gallery in Pittenweem later this week for their Autumn Exhibition, which runs until Christmas.

iron pour

gutter

I found my neighbour’s iron guttering on the rocks (the photo shows where it used to be)

seaside

and I took it to Scottish Sculpture Workshops. Where we melted it, along with other scrap iron (which Ross nobly ‘cracked’ while I did the sand bed for the furnace)ironpour

The molten iron was poured into a two-part sand mould of a small vessel form (and some other moulds)

ironsmall

This is the iron piece with runner and riser, tomorrow I’ll cut the extraneous bits off, but I rather like the patterns it makes in the sun.

ironsmalli

Workshops

I had a fun morning  showing Kat and Trisha how to sand-cast. I managed not to take pictures, but they both made bowls and shell pieces.

We worked outside as it was a stunning day (still is)

teasels

Just popped out for proof!

alliums

Anyway it reminded me that I have two further workshops scheduled for this year:

8th August Plantlore and Jewellery as part of Pittenweem Arts Festivalbroochlichen

This is a brooch made at an earlier Plantlore workshopworkshop


and a week long sand casting workshop in The Algarve 13th to 20th November at Aqua Ventura.


Bronze Casting

bronzelargeii

I went up to the Scottish Sculpture Workshop last week with my three large mould boxes and here are the two bowls that were cast. One sand mould didn’t survive the journey, but these two bowls should look good once I’ve cut off the pouring cup and generally given them a bit of a clean and shine.

bronzelargeiv

They looked a bit like satellite dishes on the beach today, enjoying the Scottish sunshine, but they are more tactile and a prettier colour.

Borders casting, the story continues (some more)

clayprep

The block of sieved, cleaned clay, from Hume in the Borders, has dried in the sun (and wind). I’m hammering bits off it, then grinding it with the pestle and mortar. The powdered clay is then sieved and mixed with beach sand. This mixture, when it is correctly made up and moistened, can be made into sand moulds.

sandboxes

Here are three two-part sand moulds drying in the sun ready to go to the Scottish Sculpture Workshop to pour, because they are too big for my wee charcoal furnace. I’m hoping to make cast bronze bowls for my three shows this summer.

You can visit my studio as part of East Neuk Open Studios 21st and 22nd May and see my work.